Mod Description
The Roadster heater switch is a weak point in the system and can fail, here is how to fix and prevent it happeningMod Details
PremiumYes Difficulty


 Mod ID786
Creditevilution
For
 Linkhttps://www.evilution.co.uk/mod/roadster-heater-fan-fault.htm Copy to Clipboard
Smart, didn’t make it easy to change the heater switch. Designers rarely consider things like that. However, despite being hidden by the dashboard, actually removing the switch isn’t that hard.
Symptoms
Unlike the fortwo 450 heater blower failure, the Roadster heater can fail in any way. The most common failure is that nothing works at all but any of the speeds can stop working individually.
What Goes Wrong?
There are 3 possible faults.
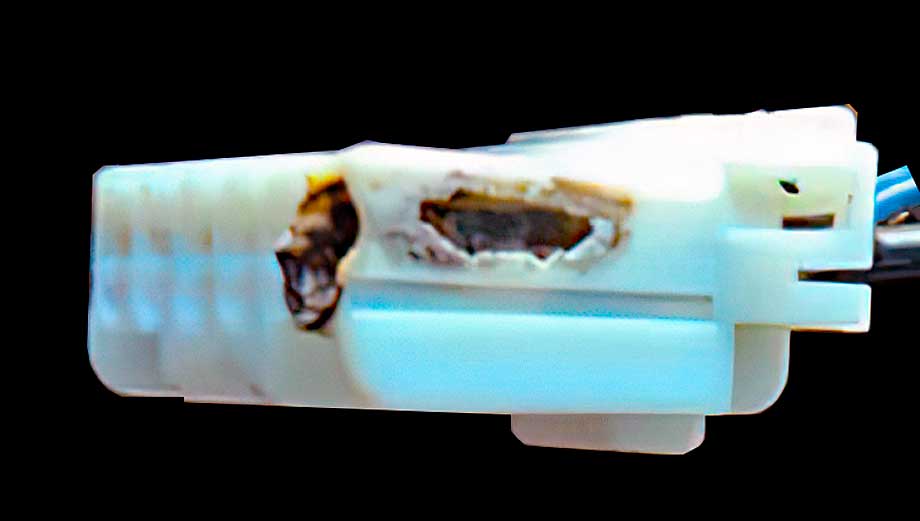
A terminal over heats in the fan speed switch connector.

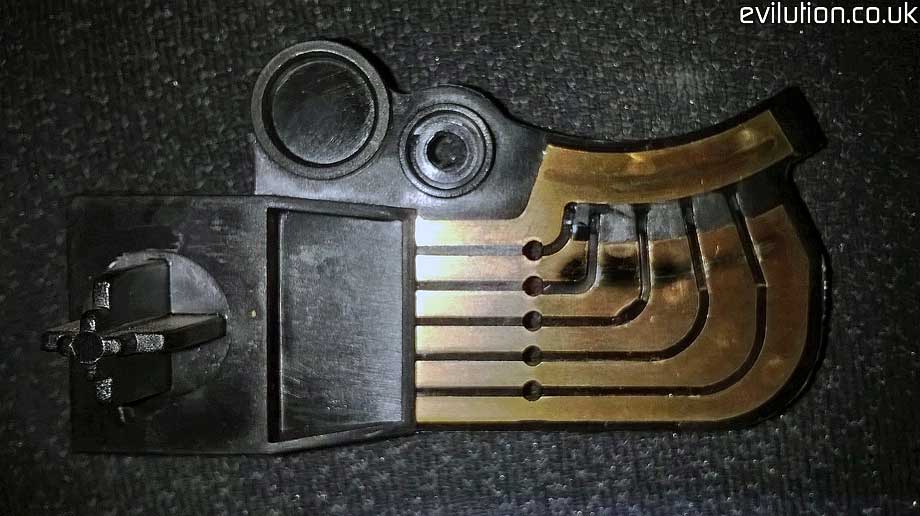
The switch contacts burn.
Even though the contact pads on the switch are designed to reduce the possibility of arcing, the gradual step up in power over the contacts can cause a spark. Every time you get a spark you get a small build up of copper oxide that has a higher resistance than the rest of the copper. Over time, the copper oxide builds up so much that the resistance of the switch increases. More power is used to create the connection which, coupled with the higher resistance, causes a lot of heat which damages the tracks, surrounding plastic, wiring and sheathing.
This is usually evident by the build up of a black/brown layer on the contacts and possibly a burnt connection and/or brown (earth) cable.

…or (and is much less likely) the SAM unit connector (N11-1 pin 2) over heats (thanks to Adrian P for that).

The problem here is that the heat may not be from the connector shown above. It could also be cracked or dry solder joints inside the SAM unit.

Replacing The Switch. Right Hand Drive
Lower Removal Method

Detatch and swing down the flap under the steering wheel.

Remove the lower steering column surround.

Underneath you should find a polystyrene block. Slide it out.

Look into the hole towards the centre and you’ll see the switch with its single Torx screw. Pay attention to the white power connection at the back of it, does it look burnt?


