Mod Details
PremiumNo Difficulty


 Mod ID1451
Creditevilution
For
 Linkhttps://www.evilution.co.uk/mod/american-451-interior-trim.htm Copy to Clipboard
Why Fit American Roof Trim?
The interior roof trim consists of 8 panels but the front and rear centre sections are the same as the Euro cars.

On non American smarts, there is a lot more internal Tridion on show in the boot. Look at the area around the seatbelt guide. Metal. Looks fine right?

Smart decided that Americans wouldn’t go for exposed metal so created full covers so you can’t see any of the Tridion.

I can only think of 3 reasons to do this swap and I did it for the 3rd one.
Reason 1 – You think it looks nicer (or you’re covering up scratches).
Reason 2 – The new panels have extra sound deadening behind them.
Reason 3 – You want a good place to put rear speakers.
Remove The Old Trim
Obviously it’s not going to be as easy as just buying boot side panels. This is smart we are talking about.
So, step 1, remove all of the roof trim panels. Yes, all of them. There’s a Torx20 on each side of the rear centre panel to remove.

Pull the back down to unseat the 3 clips and then push the panel forwards.

This frees up the front tabs and the panel will drop down.

Underneath that panel is a Torx25 screw. Remove these from each side.

Go to the front of the cabin…
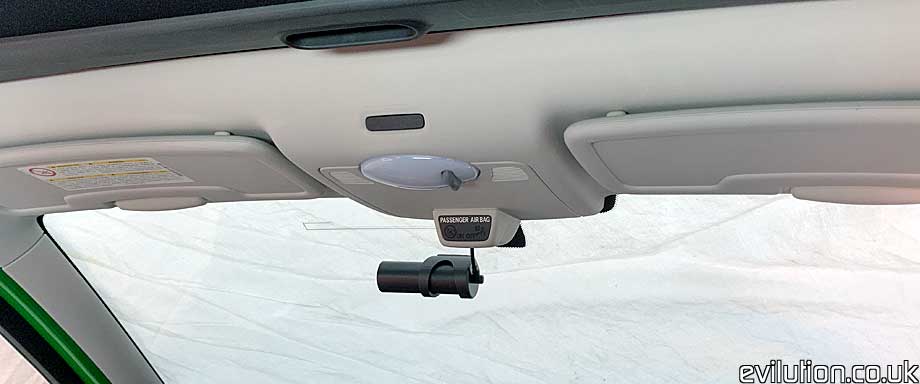
…flip down both sun visors and you’ll find 3 screws per side. The centre one is Torx20 and the outside 2 are Torx25.
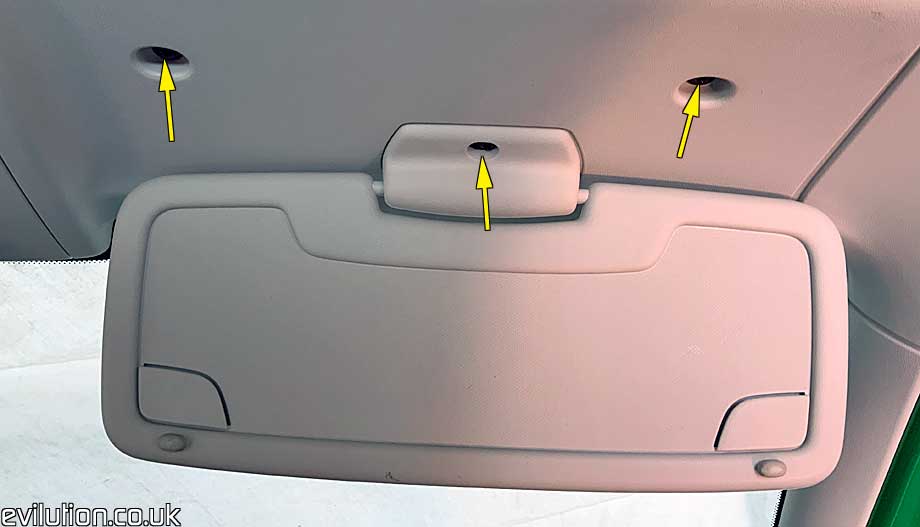
Pull the visors straight down to relesase.
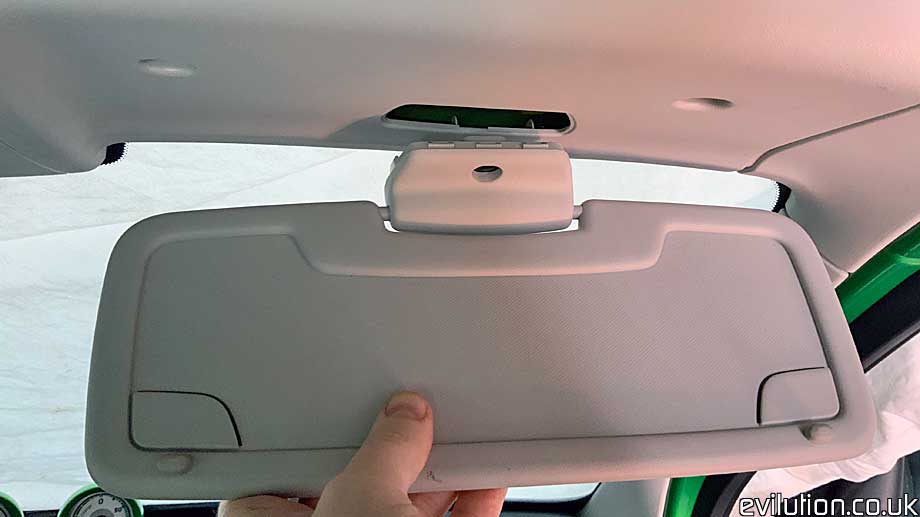
Pull the top edges of the centre panel back and down to unclip.
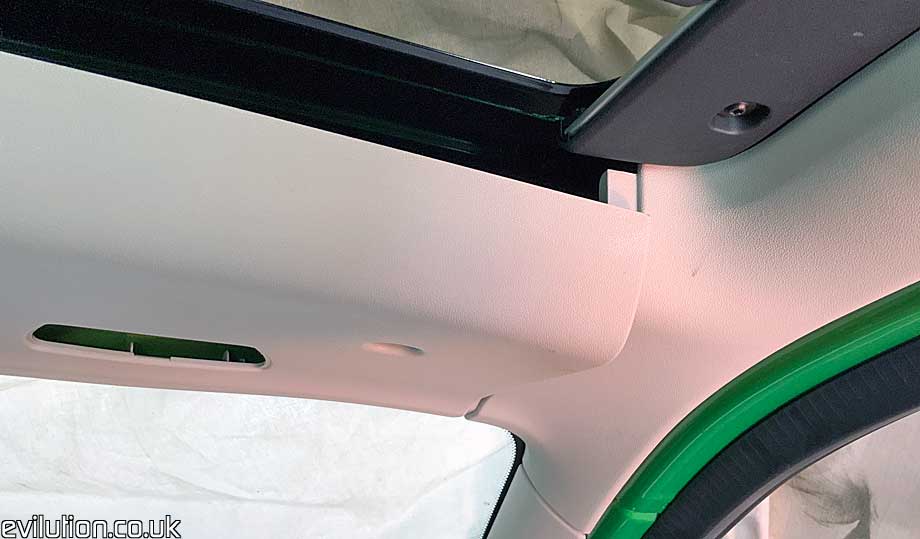
Slide the panel forwards and it’ll unclip from the front and drop down.
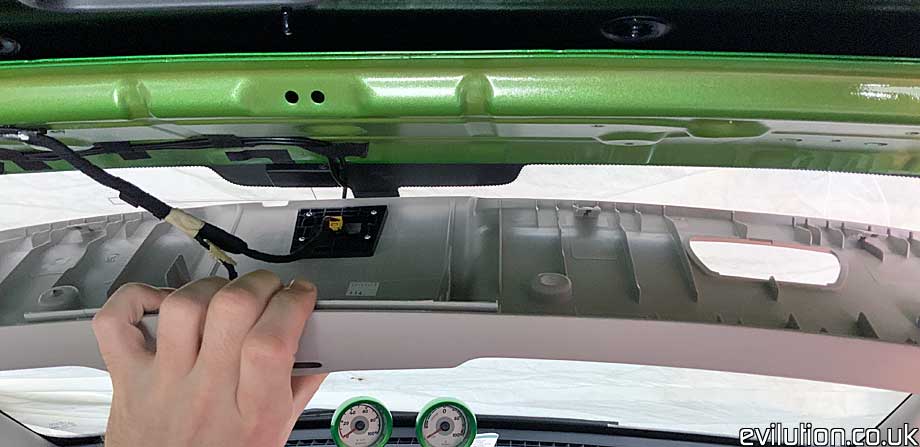
Disconnect all connections you find under there.
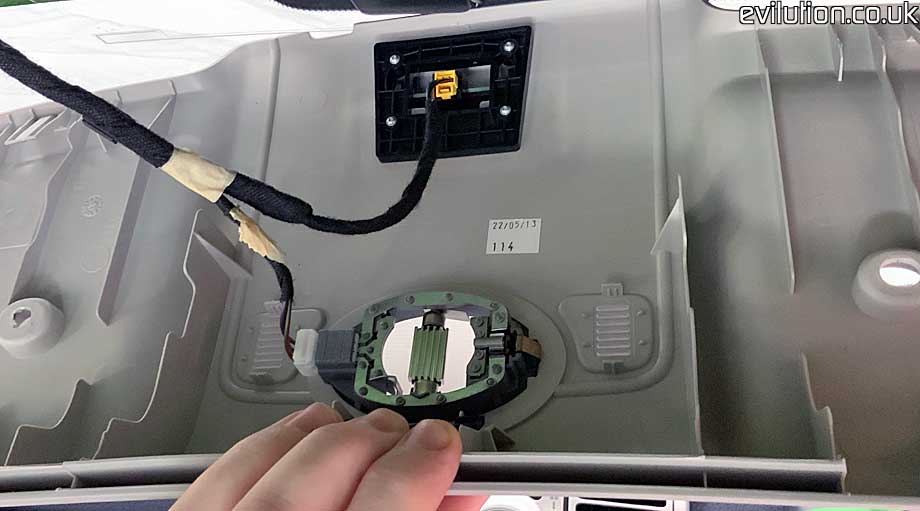
OK, now onto the final fixings for the side spar covers.
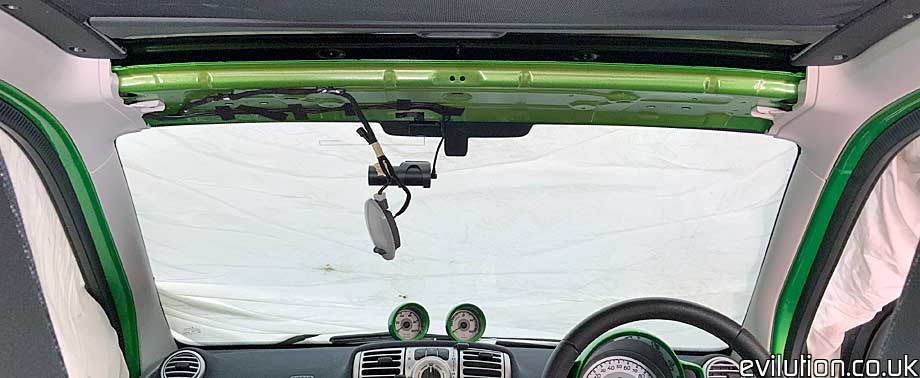
Use a Torx25 to remove the uncovered screw.
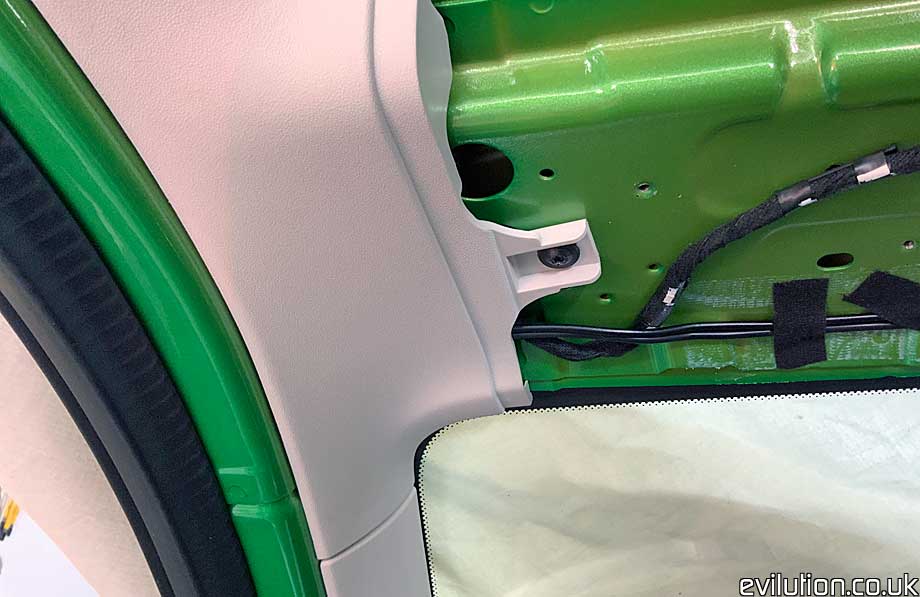
Pull the trim towards the centre of the car to unclip all of the clips.
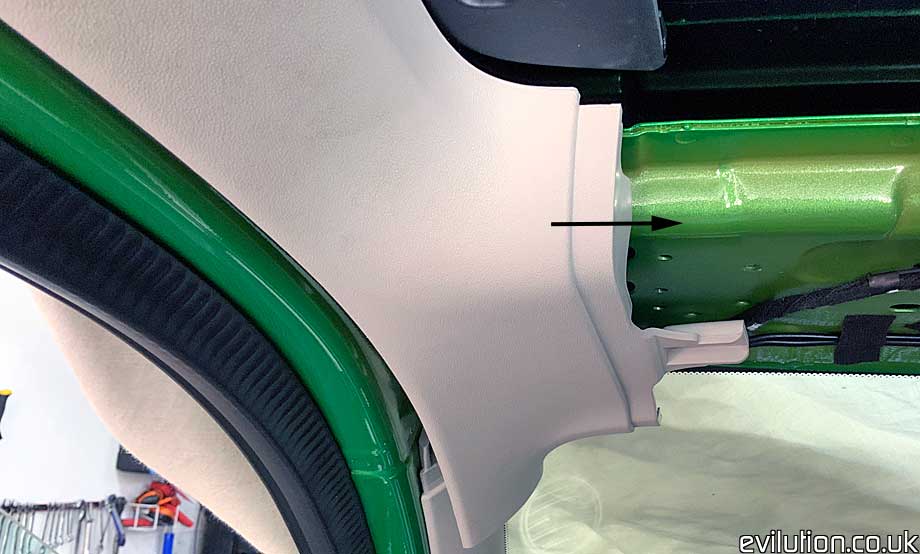
The side trims will now be free from the car.
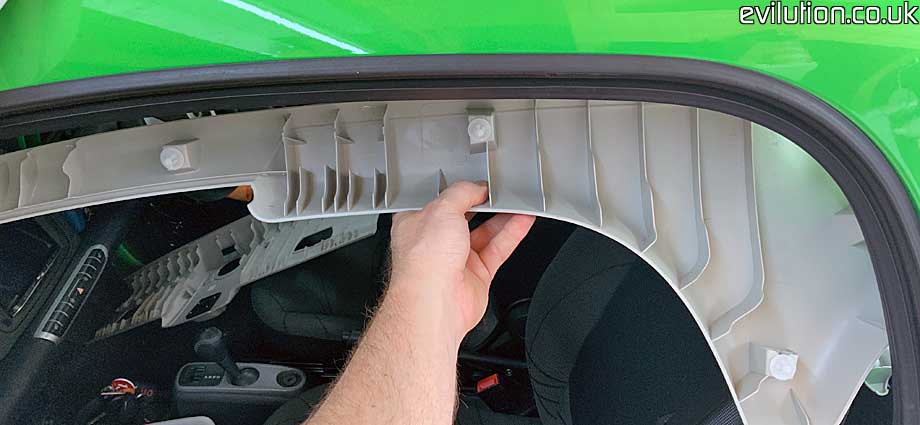
Sadly, we’ll not be reusing these as we also need the American equivalent.
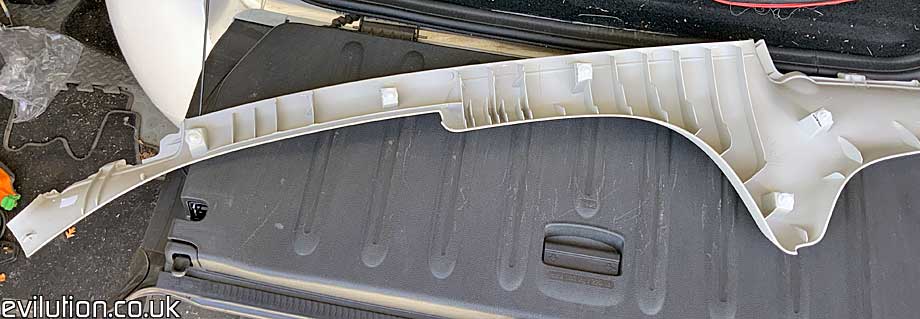
If you have the low profile A pillar covers either side of the windscreen, these will have to be changed too. The American A pillar covers are bigger and cover all of the metal. Remove the Torx25 screw…
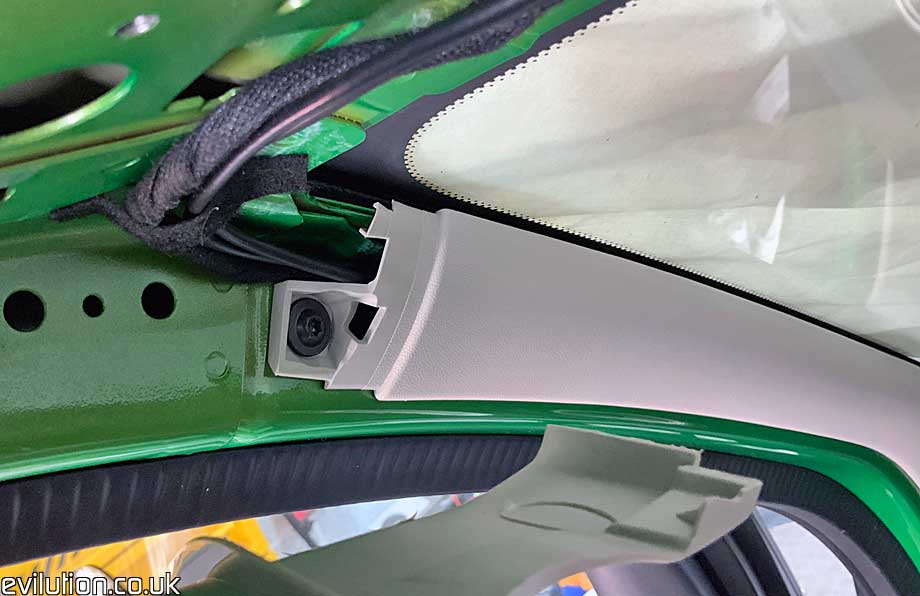
…and pull the trim towards the centre of the car.
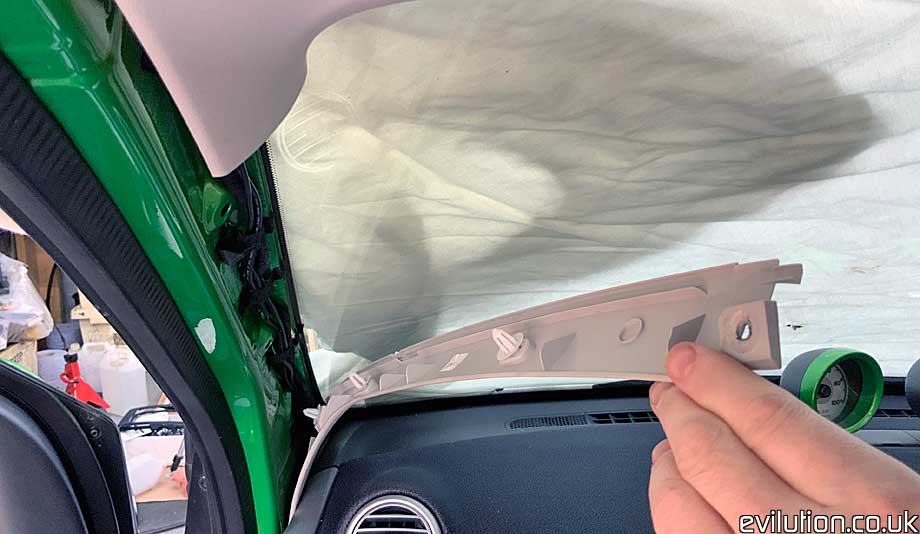
On removal, it leaves a nice little gap down the side of the dash to run cables.
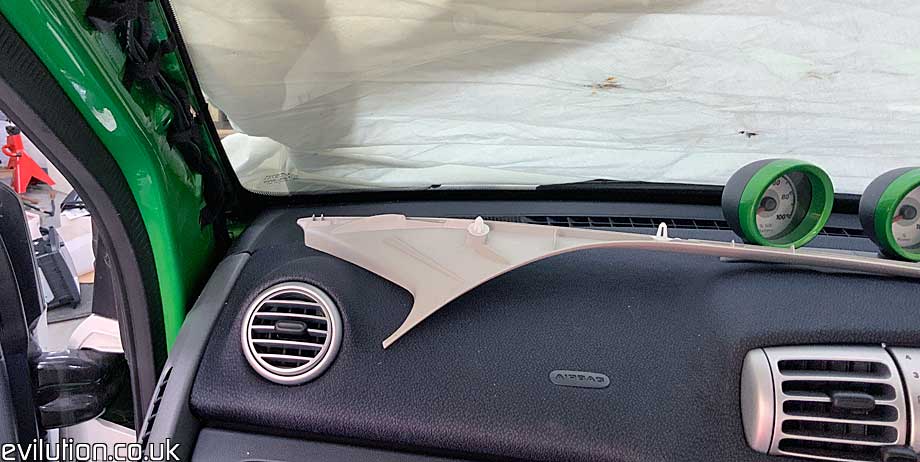
OK, so now we have no roof trim panels.
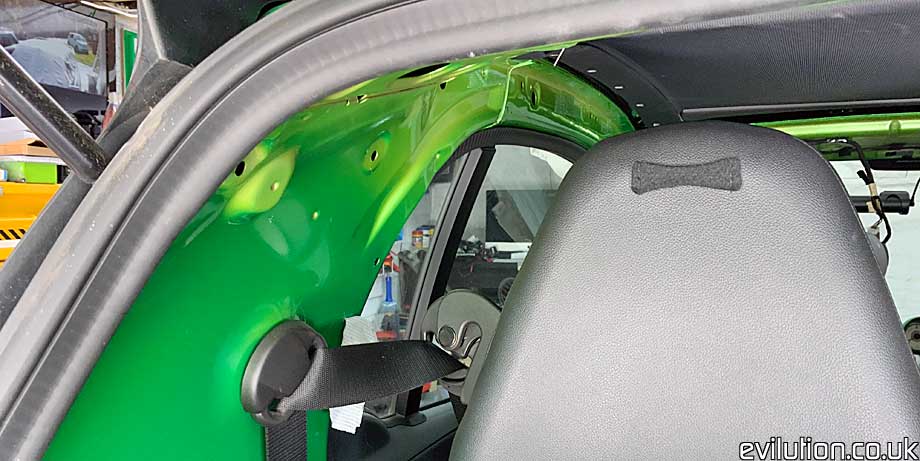
However, we don’t stop there. We now have to remove the lower side boot panels. We will reuse these thankfully.
Remove the access cover…
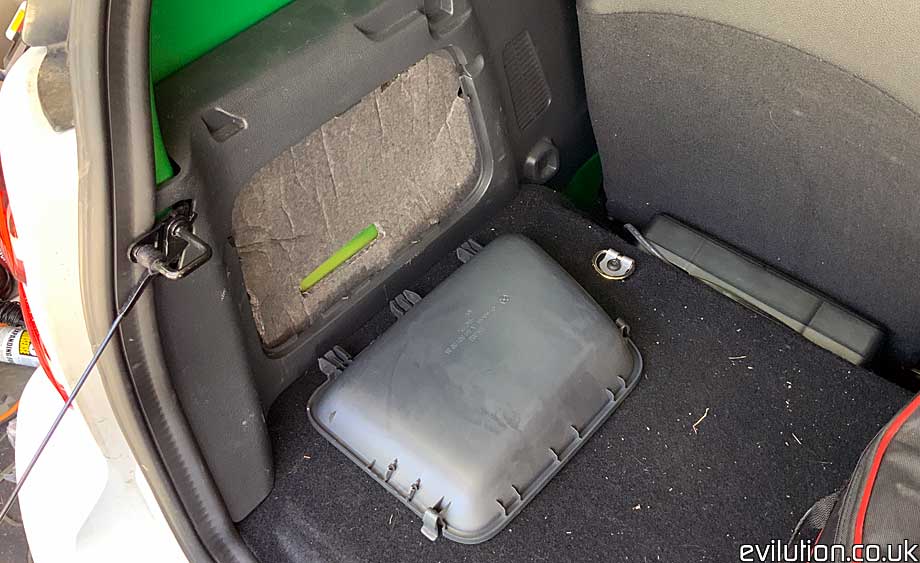
…to reveal a Torx25 screw. Remove this.
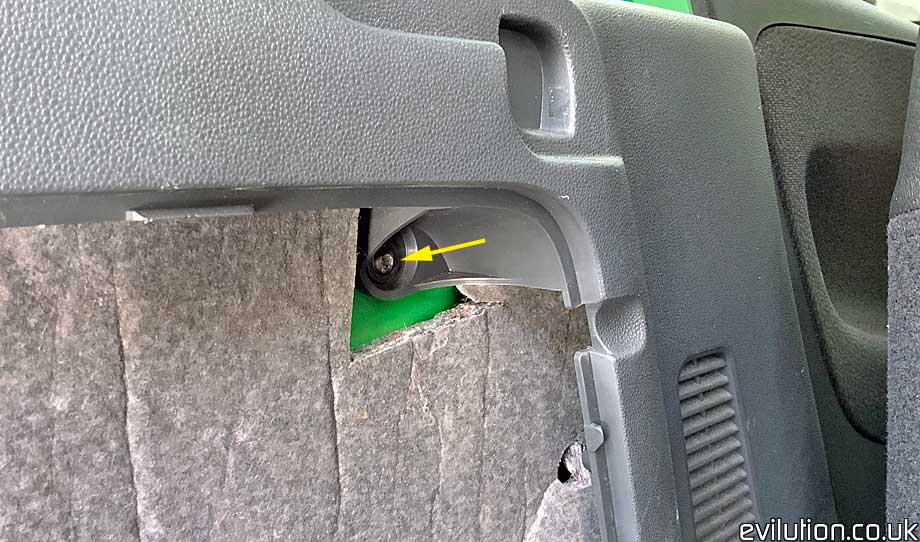
On the other side, the screw is behind a cap that has to be levered out.
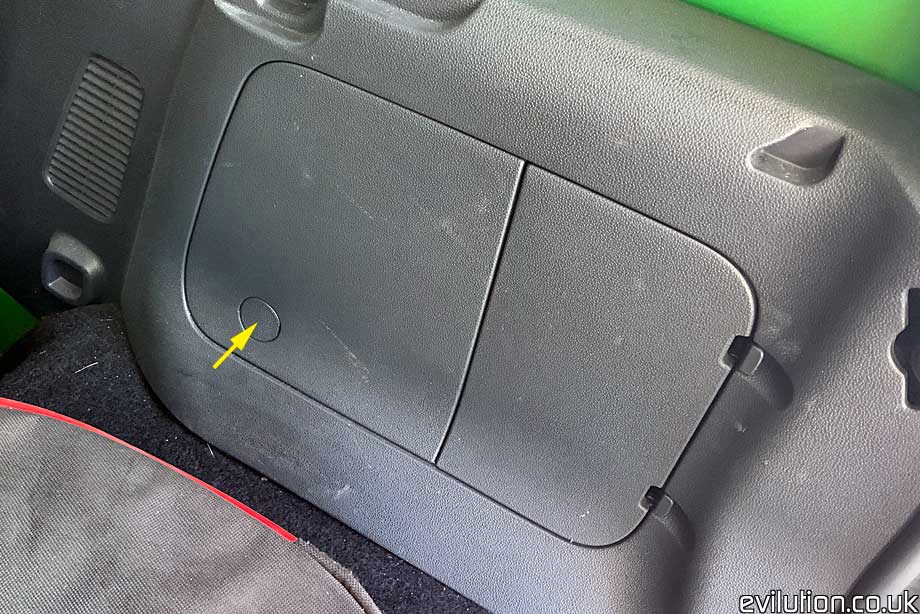
Pull both side trims towards the centre of the car to unclips all of the press studs that hold them in place.
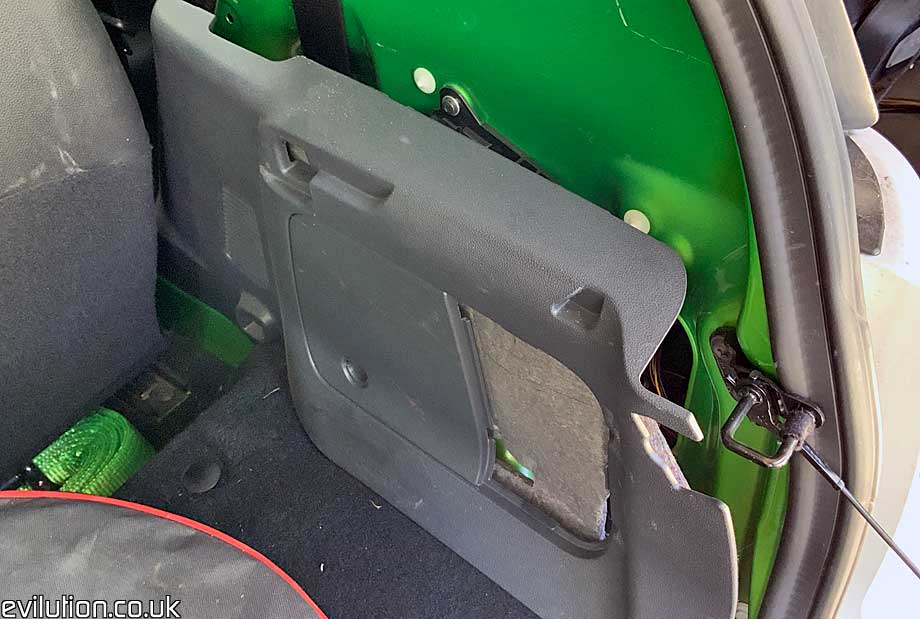
Put them to 1 side, we’ll refit them in a while.
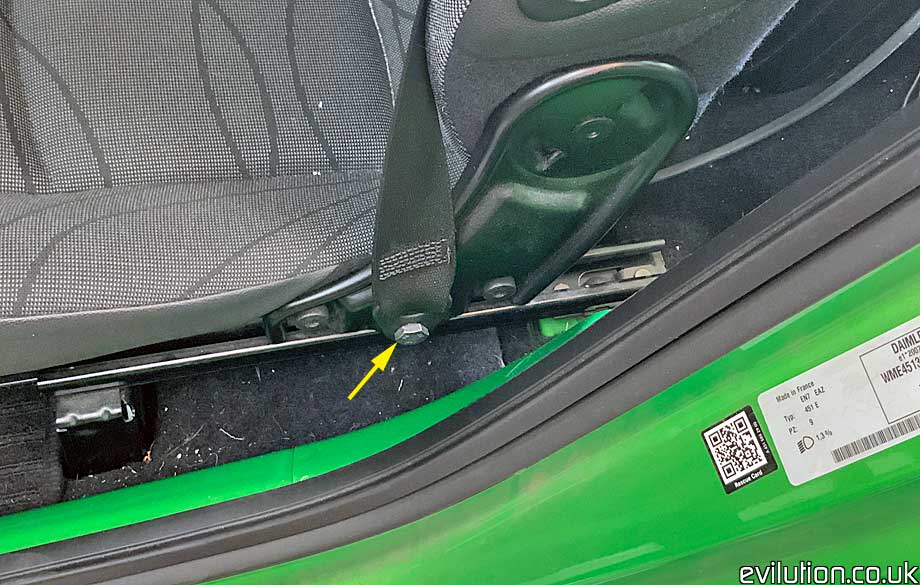
Unbolt the seatbelt from the side of the seat using a 17mm socket.
Remove it from the belt guide…
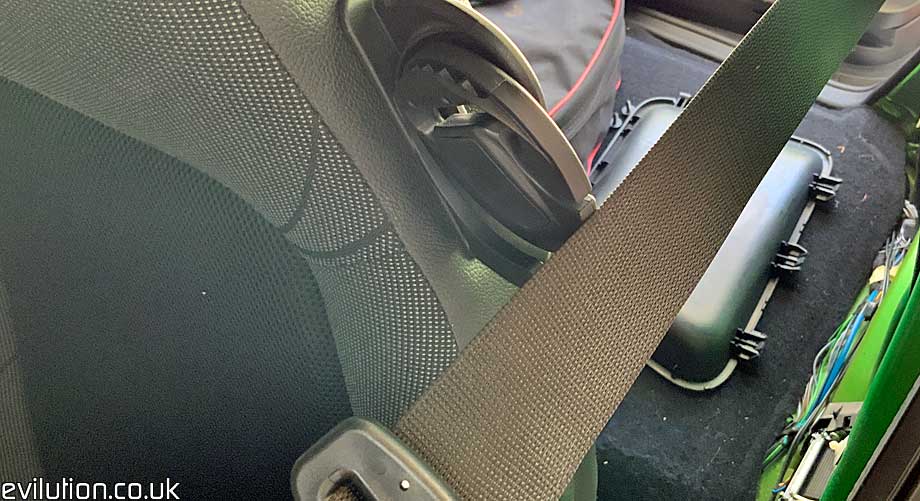
…and pass it through the hole in the new American side panel. Put the seatbelt back into the guide and refit the 17mm bolt.
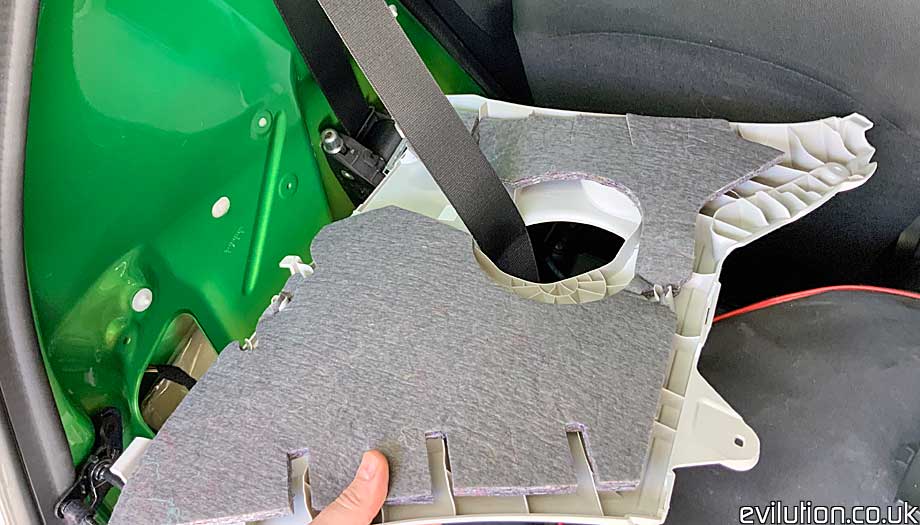
I found that pulling the seal off the car helped with fitting the new trim.
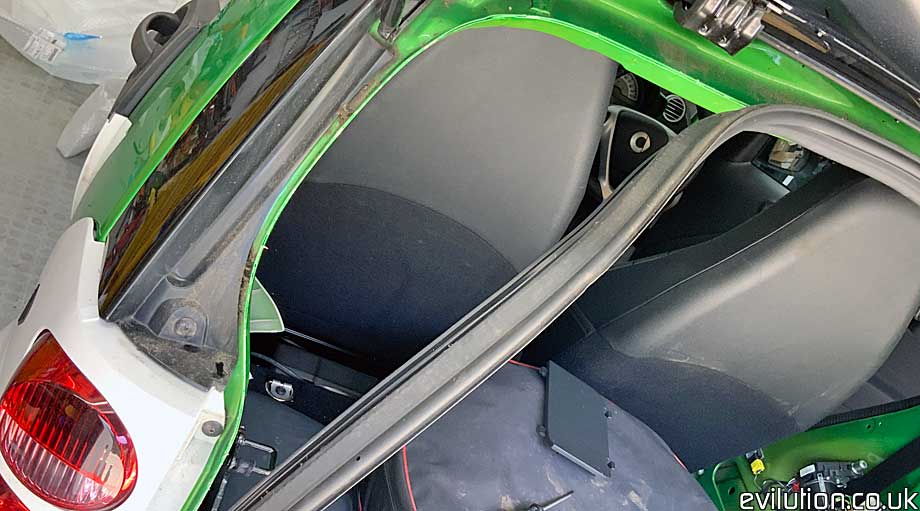
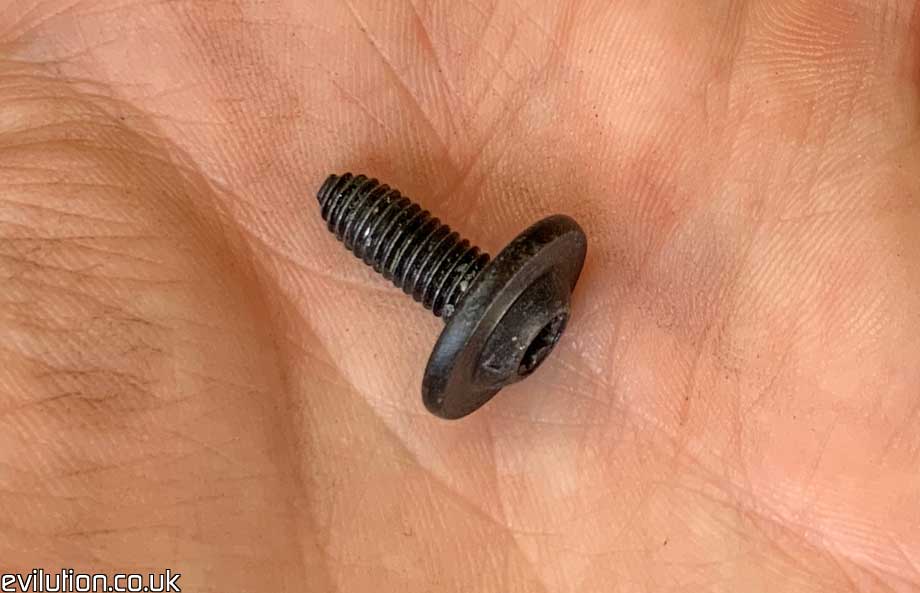
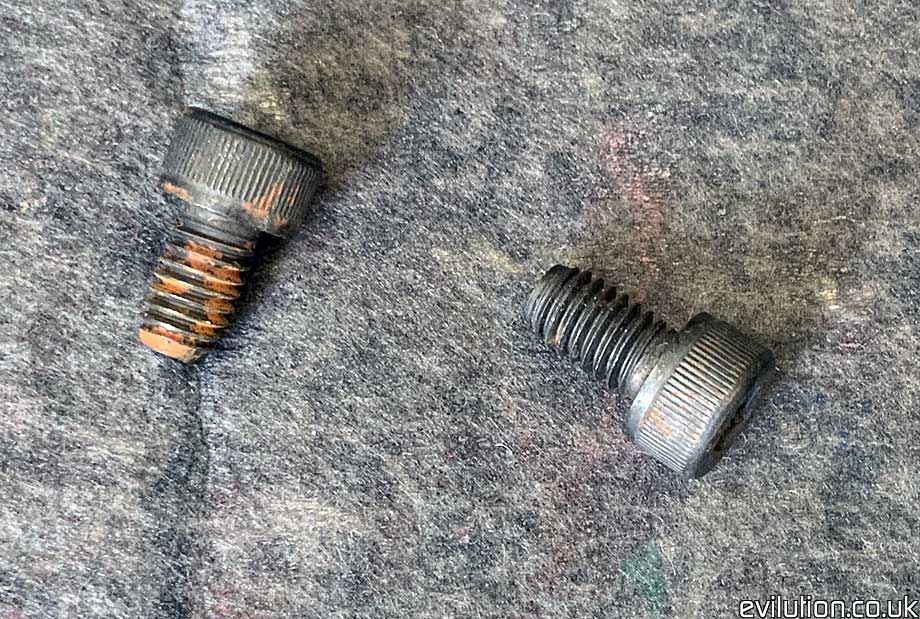
You’ll need a total of 8 new bolts. I had some spare, I’ll try and find the part number at some point.
You have a bolt in each corner. The holes are already there. Bolt it in and tighten them up.
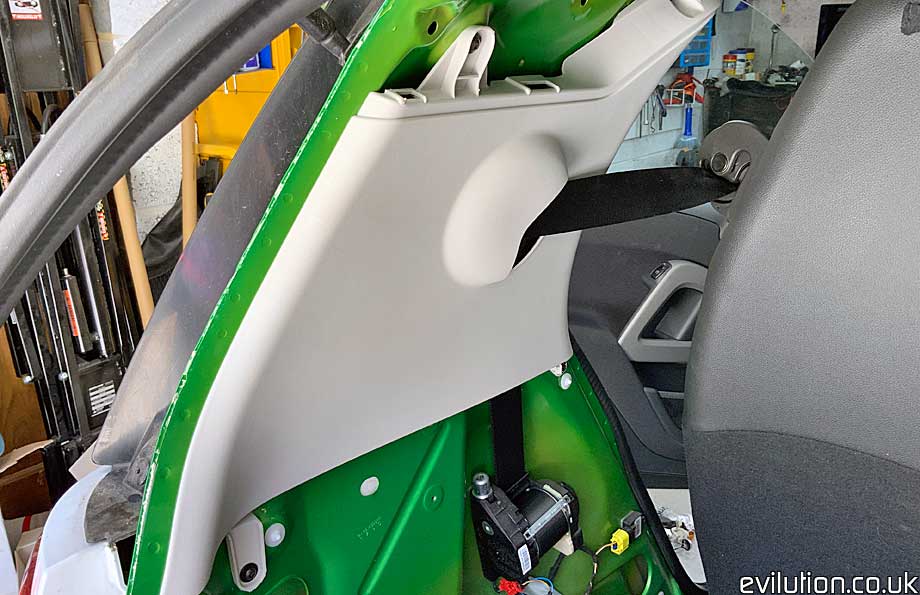
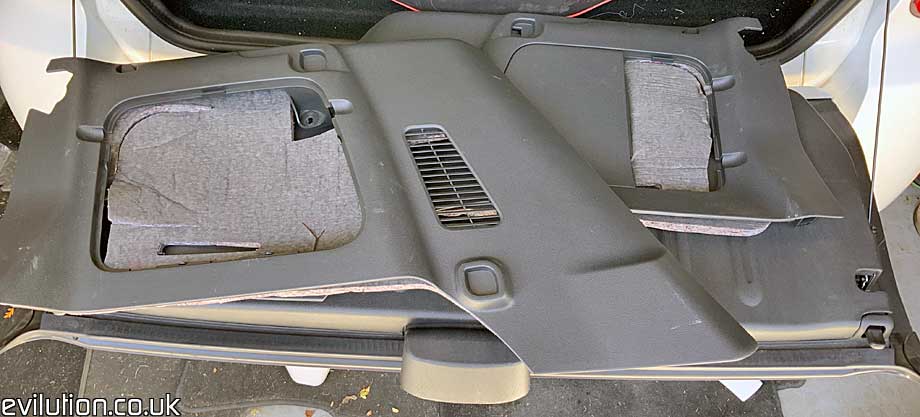
Now onto the new side cover trims. The upper one is the old Euro cover. The lower one is the US replacement.
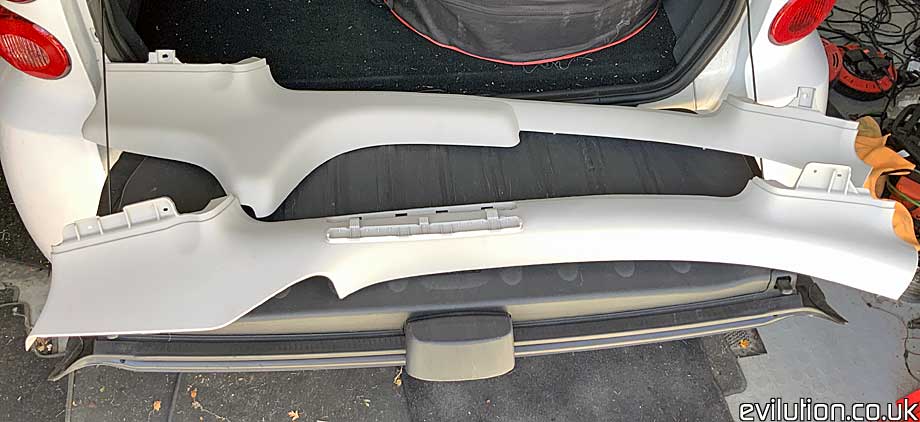
It mates up perfectly on top of the new boot trim and clips in place the same as the old one. The difference being that you have a flap for a bolt.
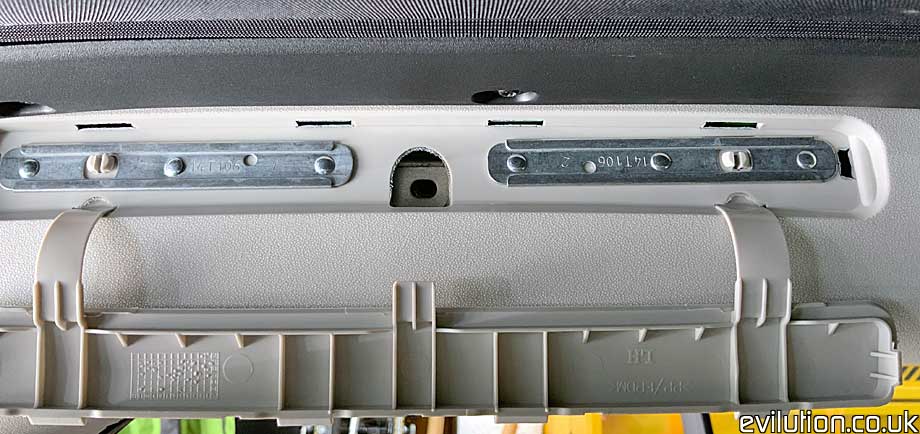
These are M6, 1mm pitch (standard pitch) and about 10mm long.
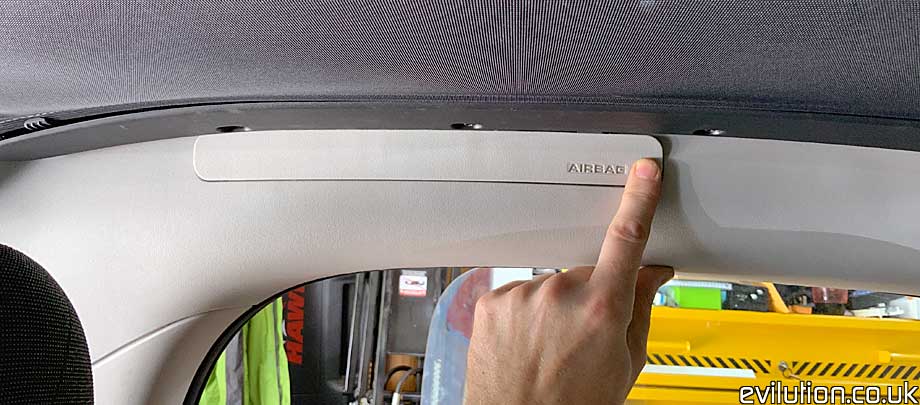
Screw one in tight on each side and close the flap to cover the hole.
You can now refit the lower trim pieces back in place.
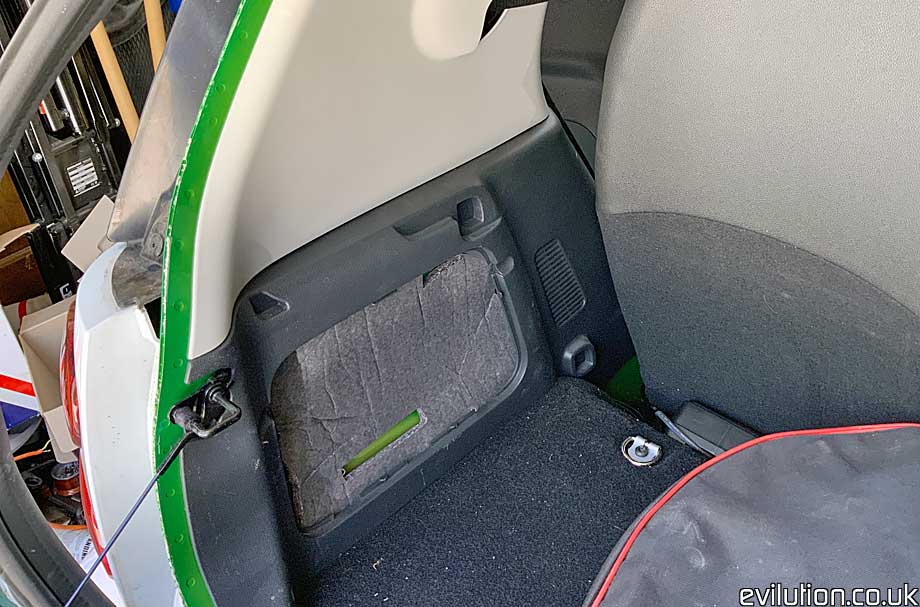
Take the new A pillar covers (if you need the larger type), fit them in place and fit the screw. Here you can see the difference between the low profile and the larger A pillar covers.
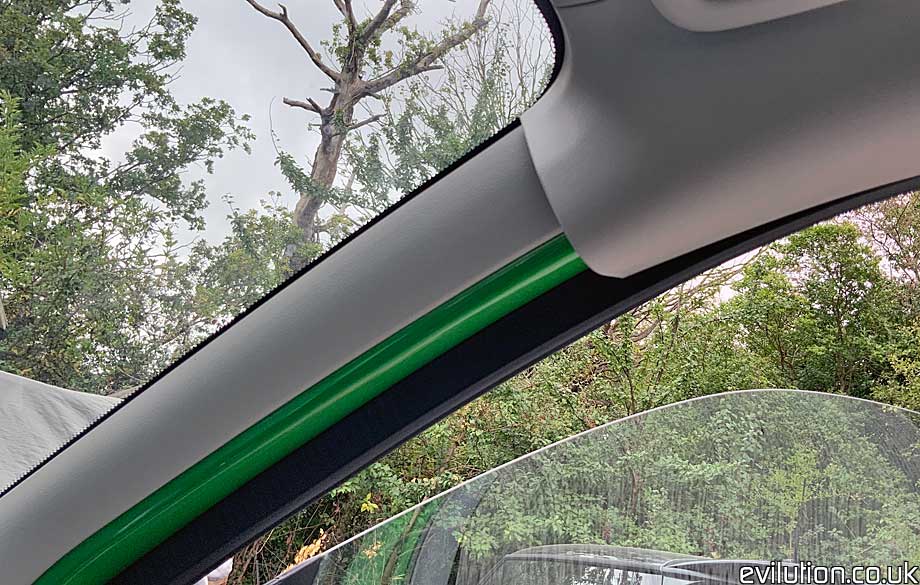
They don’t exactly match up together if you have the low profile A pillar covers.
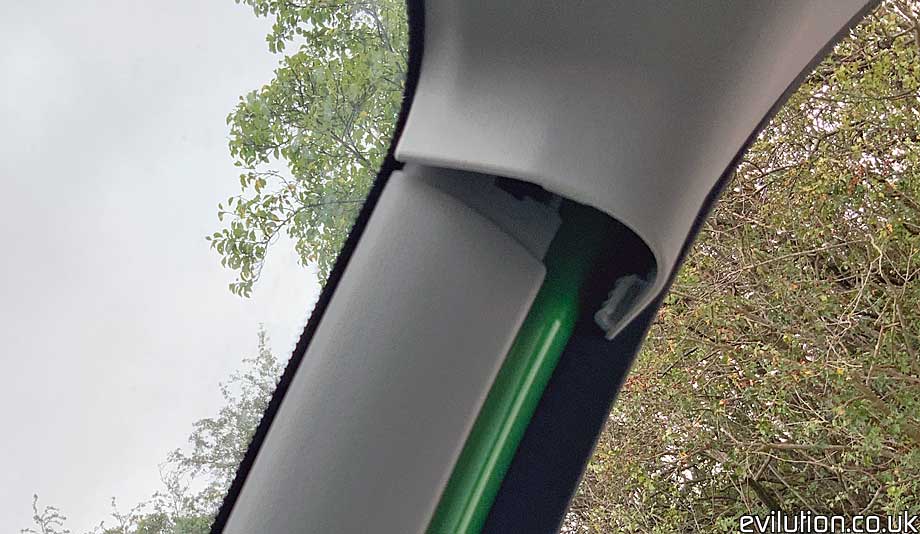
The larger A pillar covers aren’t just for the American market though. My Euro 451 cabrio has the larger ones as standard.
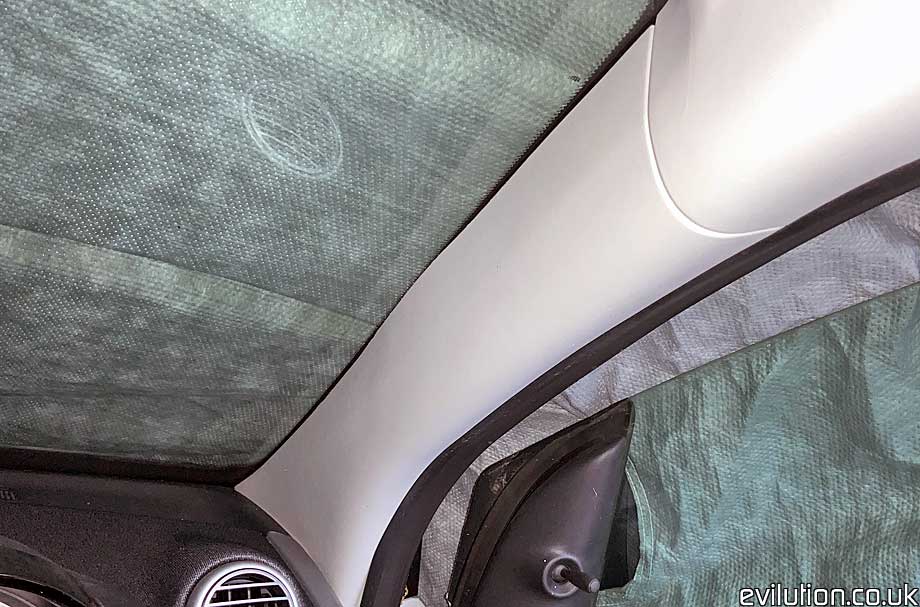
The side trims can now have their Torx screws refitted front and back and the rear roof panel refitted. Refit the front panel, reconnect all of the electrical connections, fit the visors and refit all of the screws.
Part Numbers
Either buy them straight from smart or find them 2nd hand on eBay.com
A451 690 22 50 C24A – boot side trim
A451 690 21 50 C24A – boot side trim
A451 690 24 25 C24A – roof side trim
A451 690 23 25 C24A – roof side trim
A451 690 03 54 – A pillar cover
A451 690 04 54 – A pillar cover


