Mod Details
PremiumYes Difficulty![](https://www.evilution.co.uk/wp-content/themes/evilution/images/evilution/menu-normal-over.png)
![](https://www.evilution.co.uk/wp-content/themes/evilution/images/evilution/menu-normal-over.png)
![](https://www.evilution.co.uk/wp-content/themes/evilution/images/evilution/menu-normal-off.png)
![453 EQ 453 EQ](https://www.evilution.co.uk/wp-content/themes/evilution/images/evilution/model3950.png)
![453 Fortwo/Forfour 453 Fortwo/Forfour](https://www.evilution.co.uk/wp-content/themes/evilution/images/evilution/model8.png)
Automatic
Lift the gear lever surround up.
![](https://www.evilution.co.uk/wp-content/uploads/smartinterior/centreconsole/453/old/1.jpg)
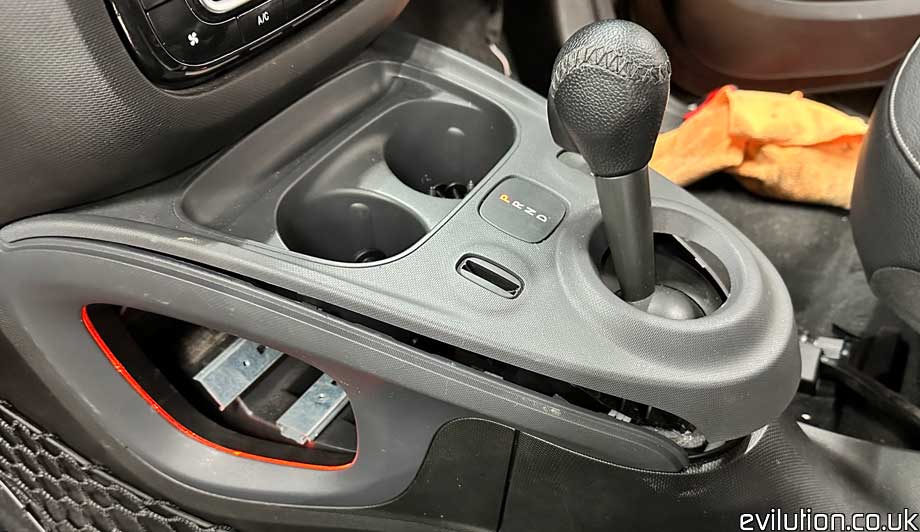
Push the PRND display upwards, turn it 45 degrees and post it back through the hole.
![](https://www.evilution.co.uk/wp-content/uploads/smartinterior/glovebox/453/glovebox17.jpg)
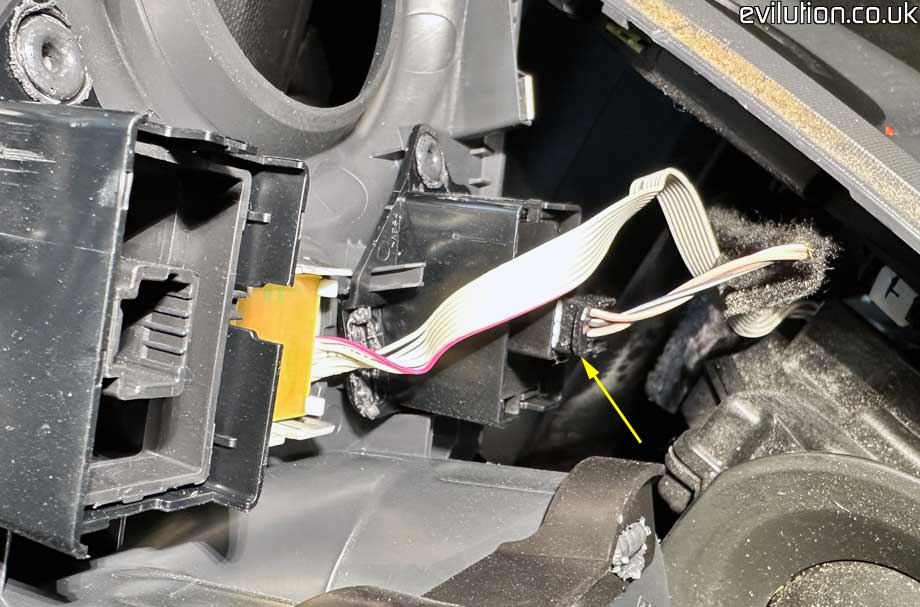
Disconnect the switch electrical connector. Put the car into D (drive). This brings the gear lever back far enough so you can lift the surround up and over the knob.
![](https://www.evilution.co.uk/wp-content/uploads/smartinterior/glovebox/453/glovebox16.jpg)
Manual
Unclip the gaiter surround from the base…
![](https://www.evilution.co.uk/wp-content/uploads/smartinterior/centreconsole/453/old/2.jpg)
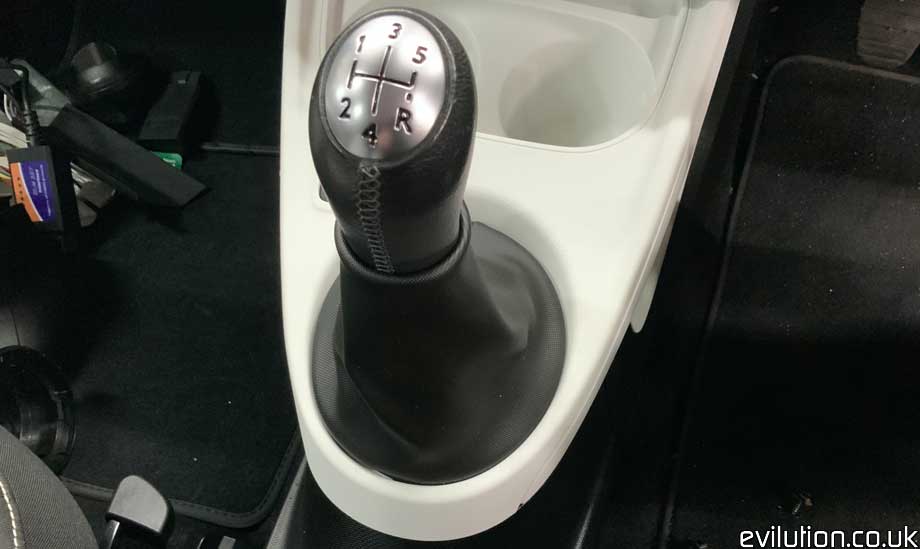
…and lift it up like Marilyn Monroe skirt style.
![](https://www.evilution.co.uk/wp-content/uploads/smartinterior/centreconsole/453/old/3.jpg)
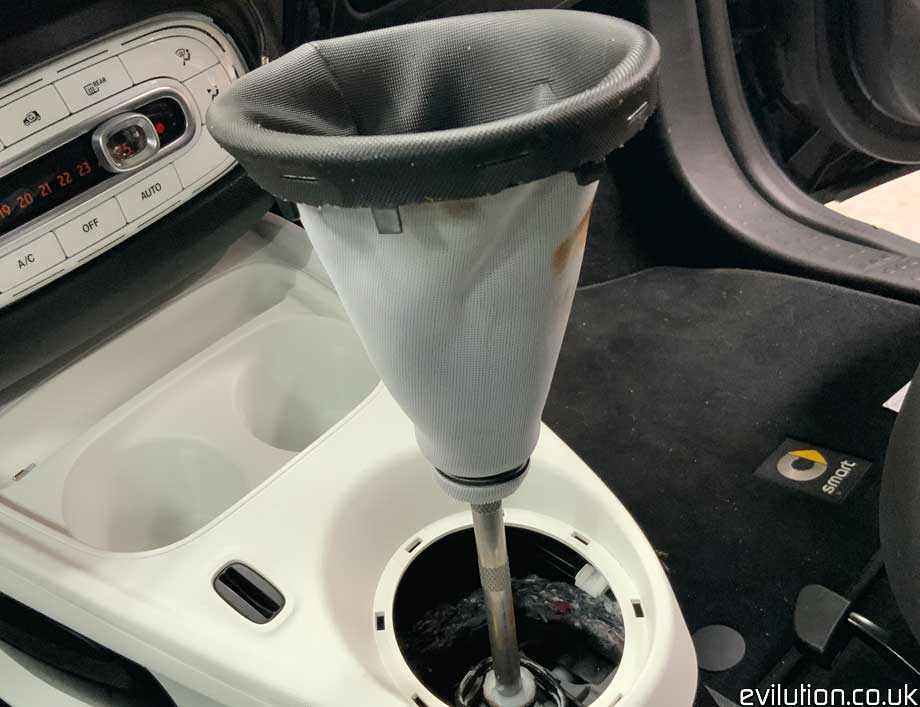
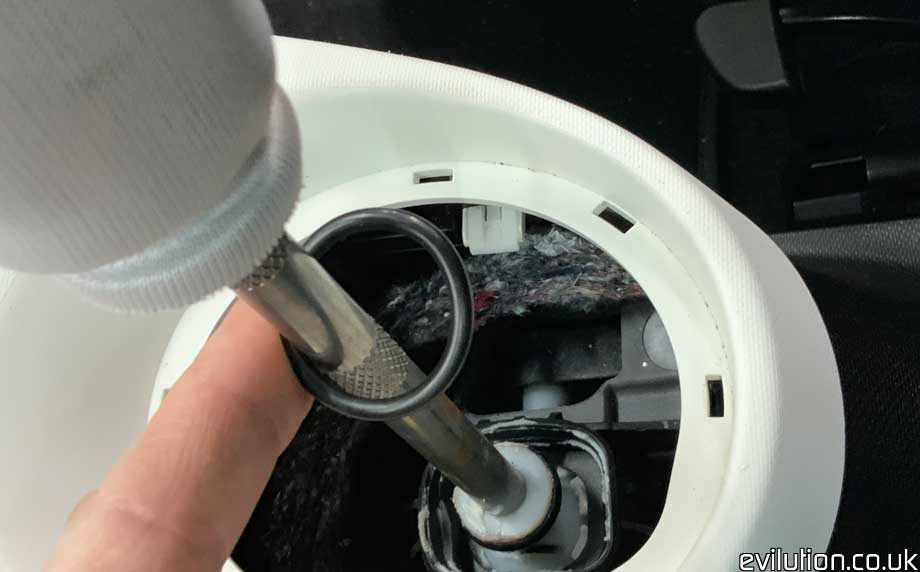
Grab the rubber O ring…
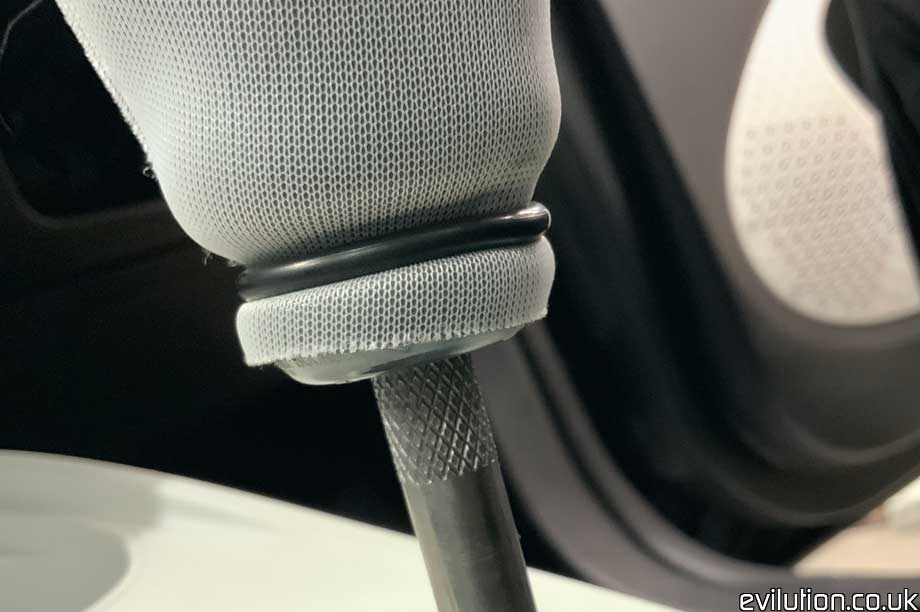
![](https://www.evilution.co.uk/wp-content/uploads/smartinterior/centreconsole/453/old/4.jpg)
…and pull it down.
![](https://www.evilution.co.uk/wp-content/uploads/smartinterior/centreconsole/453/old/5.jpg)
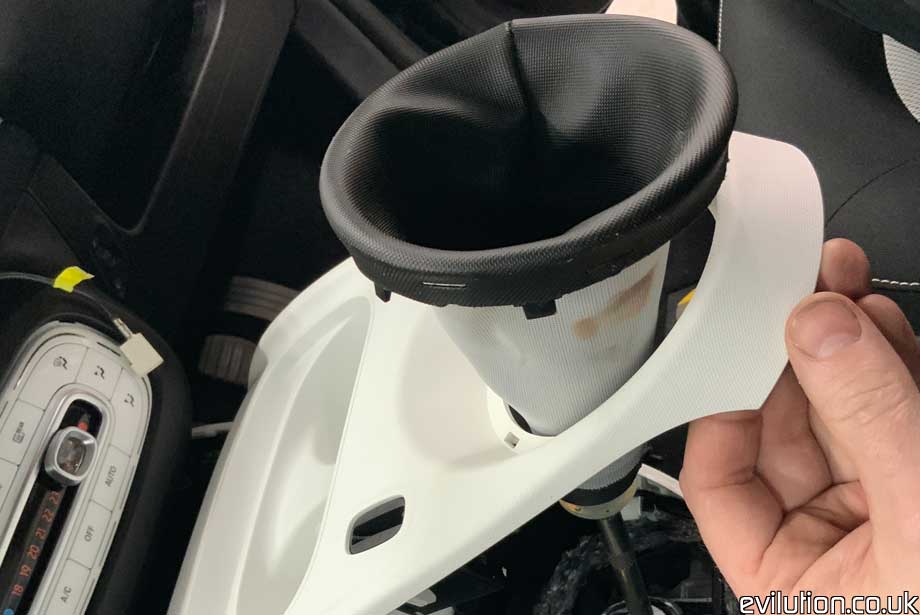
Lift the surround up…
![](https://www.evilution.co.uk/wp-content/uploads/smartinterior/centreconsole/453/old/6.jpg)
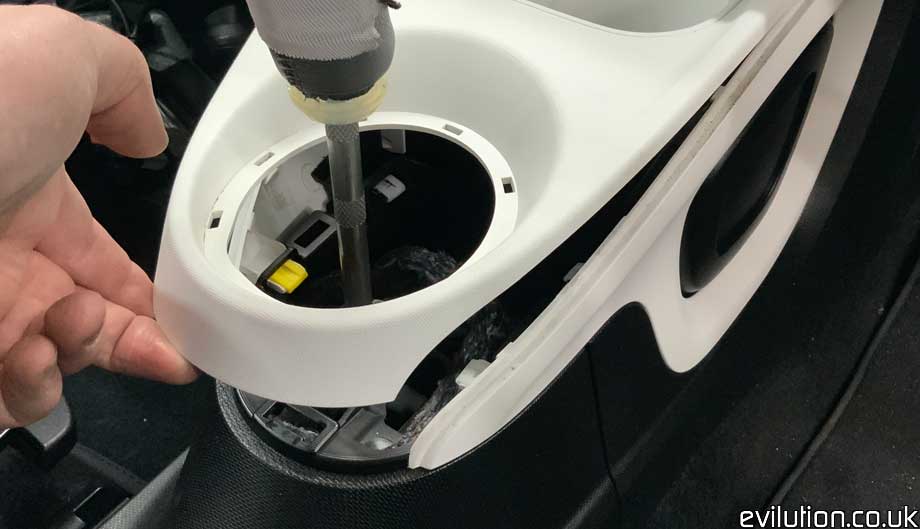
…and post the gaiter surround through the hole.
![](https://www.evilution.co.uk/wp-content/uploads/smartinterior/centreconsole/453/old/7.jpg)
Pre-Facelift Centre Console
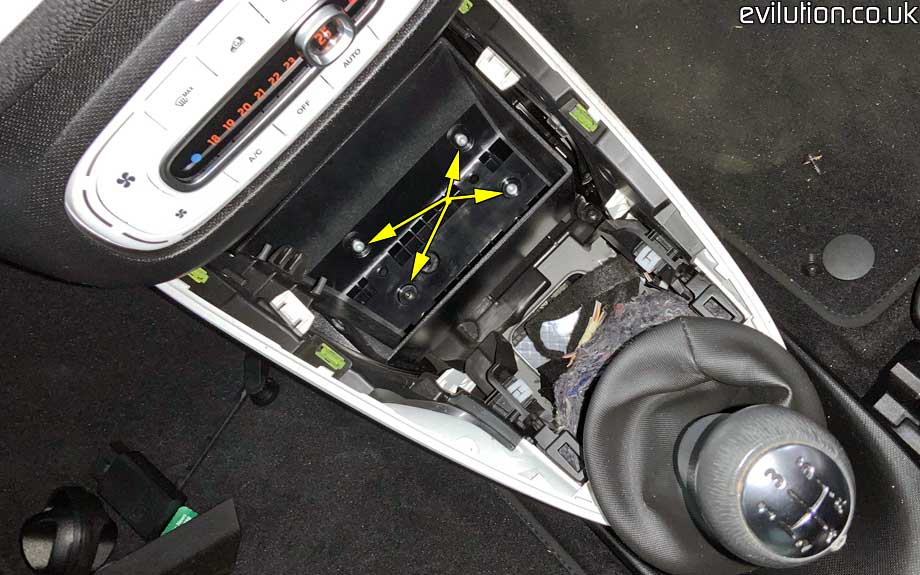
Remove the 4x Torx20 screws and pull the drawer out of the side.
![](https://www.evilution.co.uk/wp-content/uploads/smartinterior/centreconsole/453/old/8.jpg)
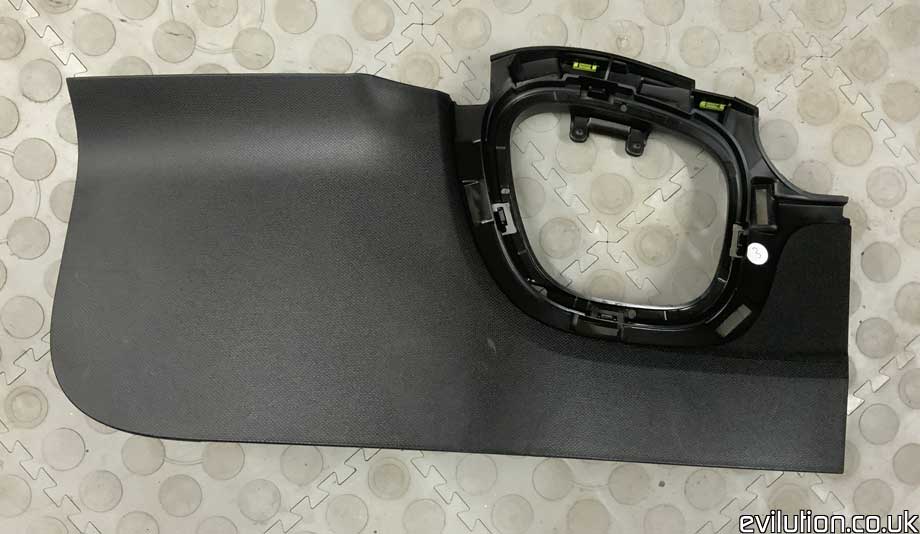
Pull off the decorative side trims…
![](https://www.evilution.co.uk/wp-content/uploads/smartinterior/centreconsole/453/old/9.jpg)
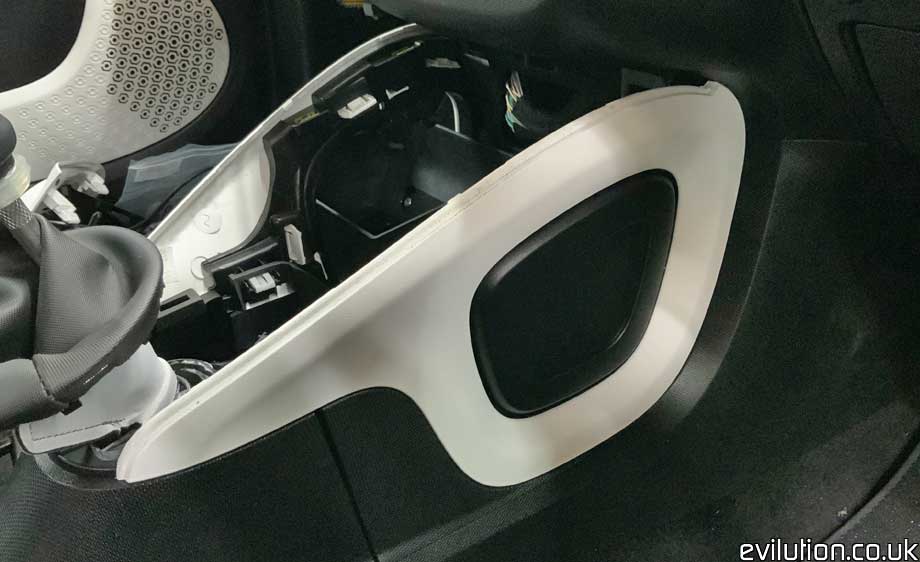
…and then pull off the side panels. They are just clipped in.
![](https://www.evilution.co.uk/wp-content/uploads/smartinterior/centreconsole/453/old/10.jpg)
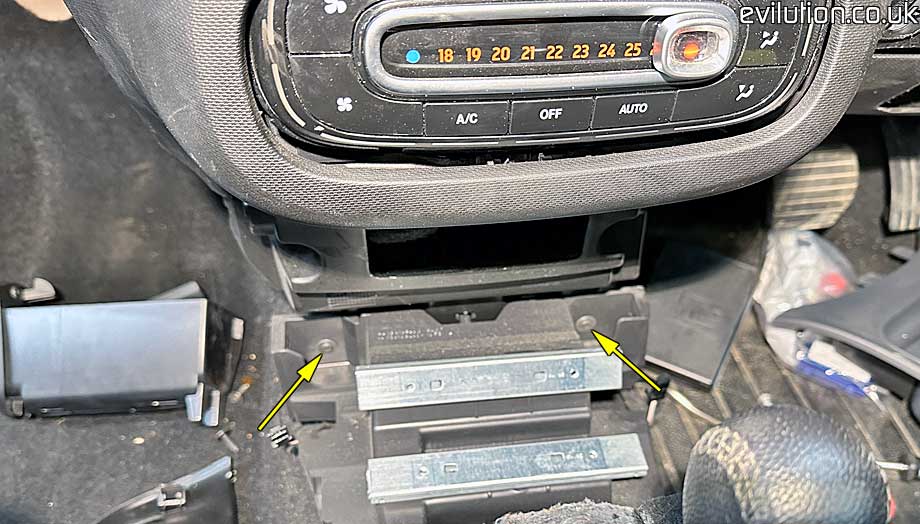
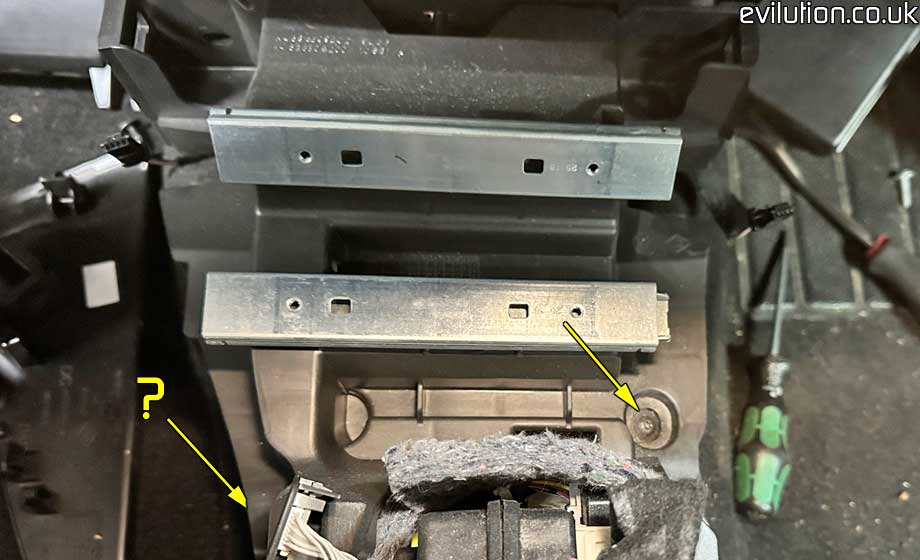
Look at the front of the base and remove the 2x Torx20 screws.
![](https://www.evilution.co.uk/wp-content/uploads/smartinterior/centreconsole/453/old/11.jpg)
Then look behind the drawer runners, there’s 1 screw on the right and sometimes there’s one on the left side.
![](https://www.evilution.co.uk/wp-content/uploads/smartinterior/centreconsole/453/old/12.jpg)
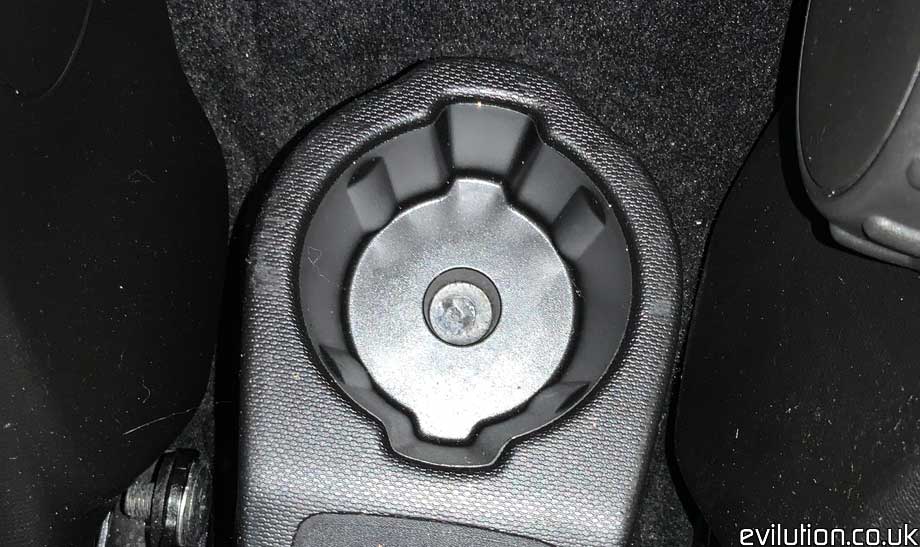
Now go to the back of the hand brake. Look in the cup holder and remove the Torx20 screw.
If you have an arm rest, Click here for removal.
![](https://www.evilution.co.uk/wp-content/uploads/smartinterior/centreconsole/453/old/13.jpg)
Lift the cover up…
![](https://www.evilution.co.uk/wp-content/uploads/smartinterior/centreconsole/453/old/14.jpg)
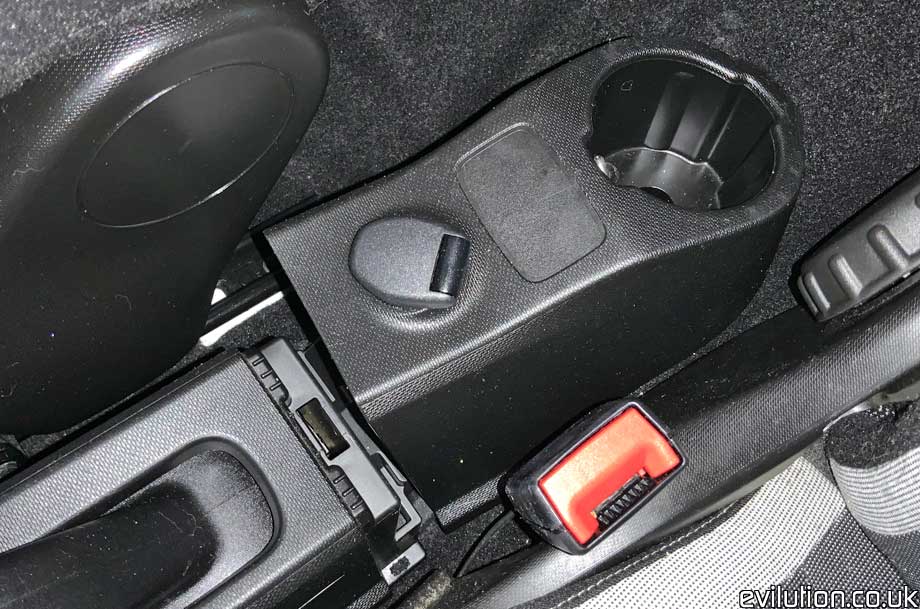
Reach in behind and disconnect any electrical connectors and fully remove the cup holder.