

Mod Details
PremiumYes Difficulty
 Mod ID1763
Creditevilution
For
Mod ID1763
Creditevilution
For Linkhttps://www.evilution.co.uk/mod/roadster-trip-computer-back-light.htm Copy to Clipboard
The standard Trip Computer LEDs started to fail in 2012 and it became more and more widespread.

Roadster Trip Computer
New ones are no longer available so if the back light fails, you have 5 options.
1 – Live with having no back lighting.
2 – Buy a working over priced 2nd hand replacement.
3 – Replace the failed LED strip with some cheap SMD LEDs, click here.
4 – Replace the failed LED strip with a replacement aftermarket LED strip. (that’s this page).
5 – Send the trip computer to someone and get them to do the repair work. (also this page).
Fitting A New LED Strip
Remove from the car and take out the Torx8 screws…

both sides.

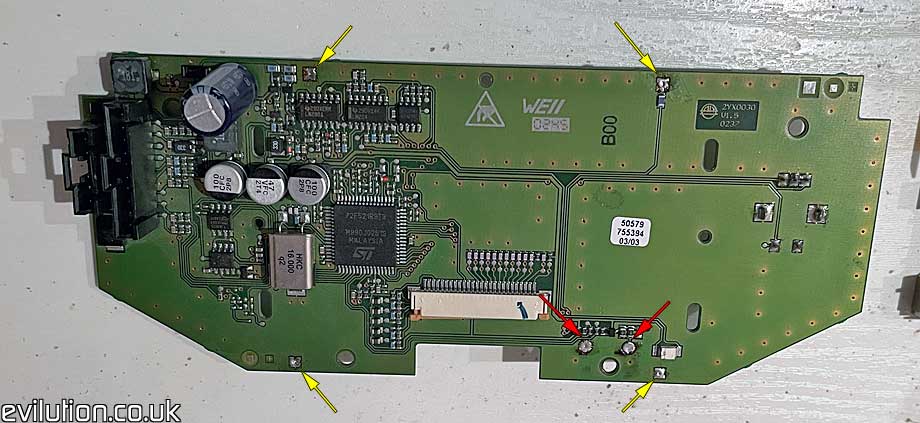
The PCB will now come free from the housing, make sure you earth yourself before handling the PCB, you don’t want to kill it before you have even started.

Using flux and copper braid or a solder sucker, desolder the 4 screen mounting points (yellow arrows) and the back lighting electrical connections (red arrows).
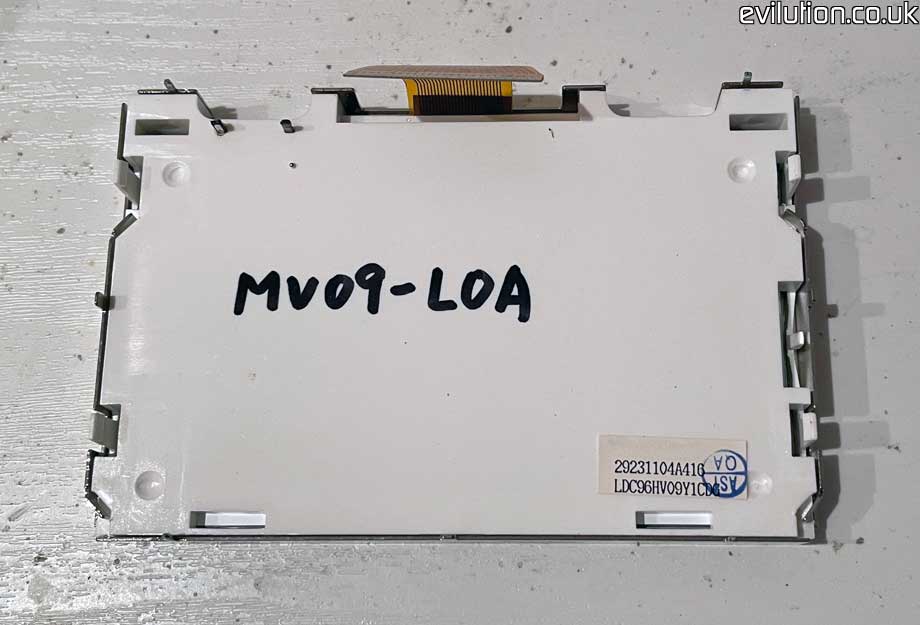
The LCD should now come away from the PCB (not as easy as it sounds).

Flip the screen over…
…and bend the corner tabs out of the way.
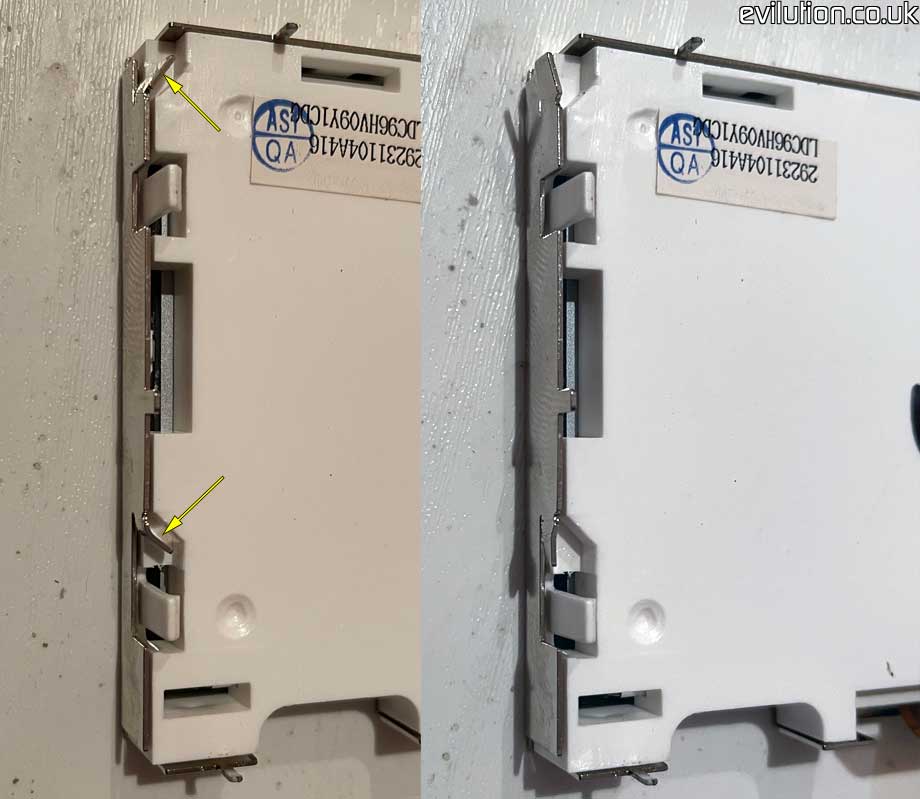
Pull the metal case away from the screen…

…and lift the screen from the holder.
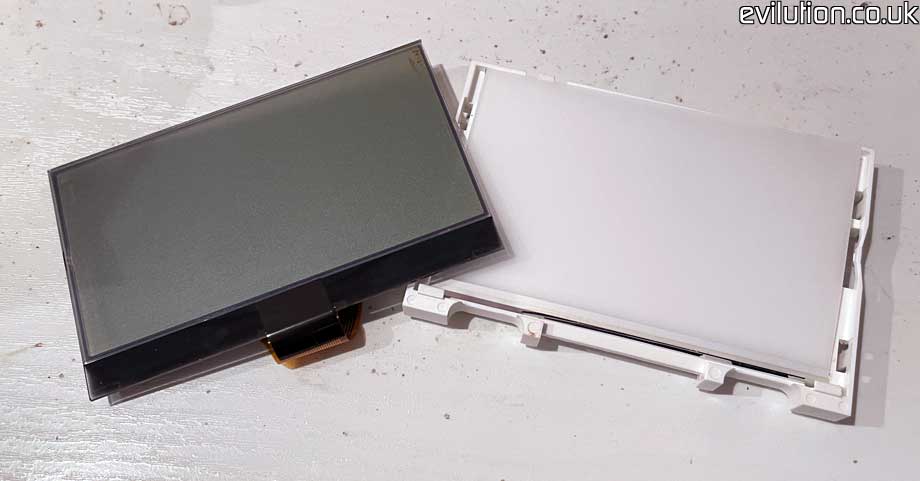
The screen has a protective cover and a diffuser over the top of it.
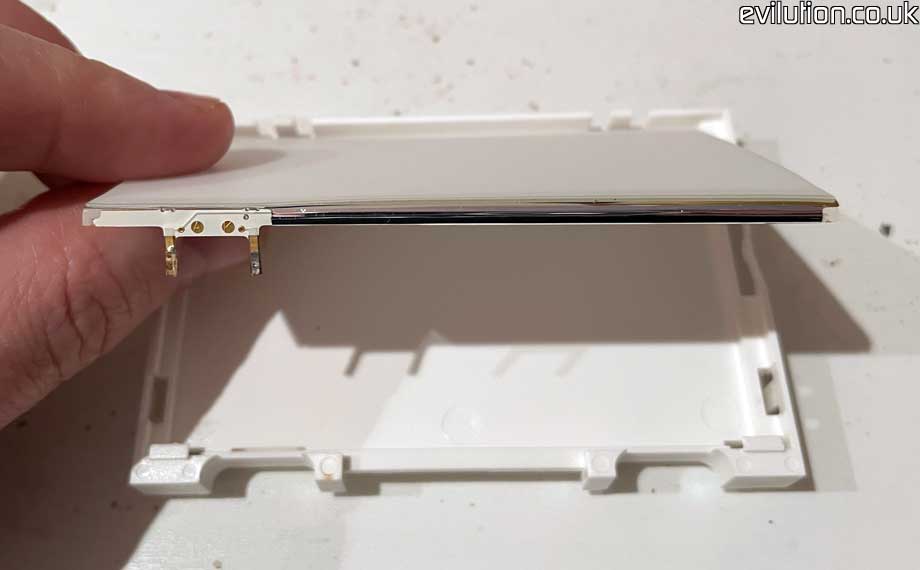
Flip it all open and you’ll see the faulty LED strip.
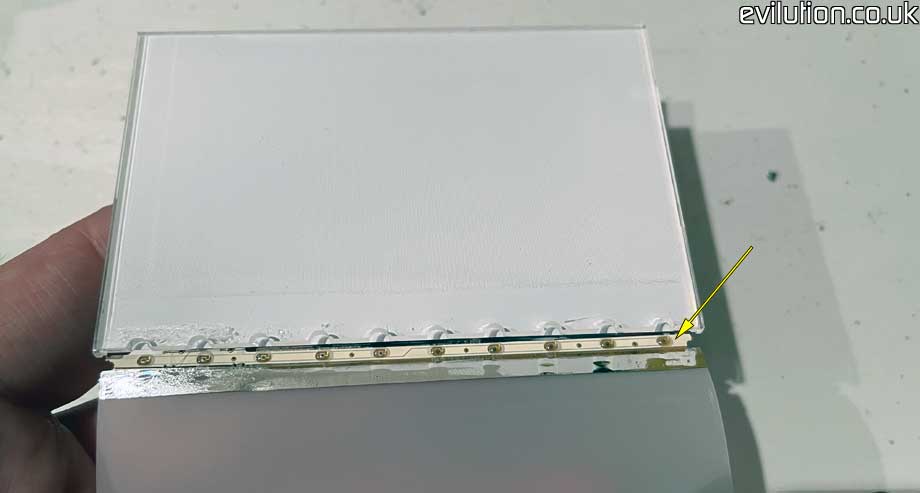
Remove the LED strip and bin it.
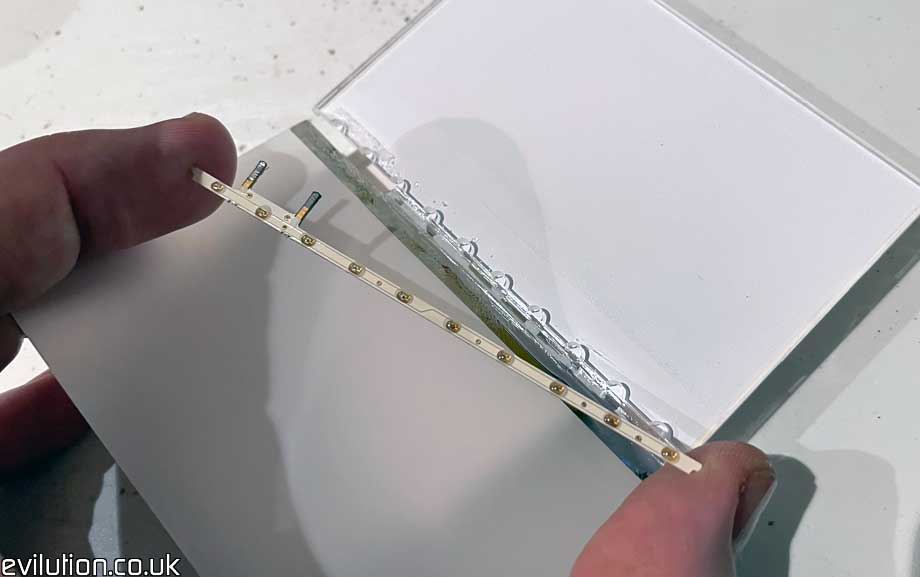
Grab your replacement…

Refit it in the reverse of removal. Reassemble the screen and soldering it back in place.