

Mod Description
After working on this project with smart owner BlackDog, everything is now ready to go.Mod Details
PremiumNo Difficulty
 Mod ID349
CreditVarious
Cost£See below
For
Mod ID349
CreditVarious
Cost£See below
For
 Linkhttps://www.evilution.co.uk/mod/heated-seats-retrofit.htm Copy to Clipboard
People Who Have Contributed (in an attempt to get the page finished)
BlackDog,
Dave Guile,
Jonathan A.

Many thanks to Dave Guile from Chequered Flag in Strood for donating the heated seat relays to the site for this How2, without them, it wouldn’t have happened.Very Sorry
This page has always annoyed me, it has been years now since I posted this and so far no real info has arrived. A few people have said they would do it and send me their results but as yet I am still waiting. All I can say is just don’t expect this page to be updated.
All my working out is here and it’s all you need + a bit of brain power.
If you do this modification, PLEASE take photos for me.
600cc And 700cc Smart Fortwo Wiring
Firstly I was to point out something important. The relays have numbers on the bottom.

All of my wiring diagrams are using these numbers. However, if you have the smart official wiring diagrams, they use different numbers and there’s a conversion table further down the page.
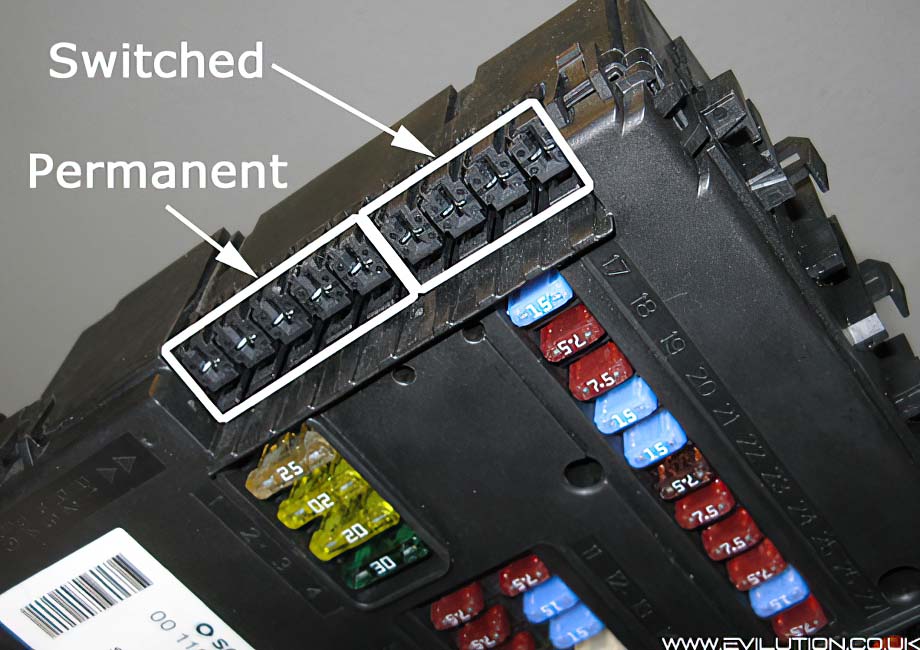
Wiring from the back of the 600cc smart fuse box (ZEE unit) is fairly straight forward. Swing it down, look behind the fuses noted in the diagram below and you will find the correct colour wires originating from the back. You just have to splice into them.

Wiring to the 700cc fuse box (SAM unit) is simple as each wire goes to a certain plug. It can be made a whole lot easier though as the SAM unit has auxiliary fuses that we can use instead, this means we don’t have to splice wires.

To make best use of the auxiliary fuses it’s a good idea to use the special fuse holders. These are available from smart for about £2.
Roadster 452 Wiring
There is a good chance that the wiring is already in place on your Roadster.

If it is, it should be a simple job of fitting a button bank with heated seat buttons (the connector is already correct),
fitting the heated seat relays and the heated seats. You may need to trace the red wires coming from the heated seat relays in order to attach them to a fuse at auxillary position 44.
If you don’t have the wiring (check for the heated seat connectors under the carpet under the seats), you will have to add it all as shown for the 700cc fortwo.
Splicing Into Fuse Wires
Relay pin 6 to SAM unit plug 1, pin 2 and relay pin 1 to SAM unit plug 3, pin 4 are just the factory connections to the fuses used. However, like relay pin 7, you can just use SAM unit auxiliary fuses – click.
Relay Pin 1 – Blue Wire – Switched 12v
Relay Pin 7 – Red Wire – Permanent 12v
Relay Pin 6 – Black/Red Wire – Permanent 12v
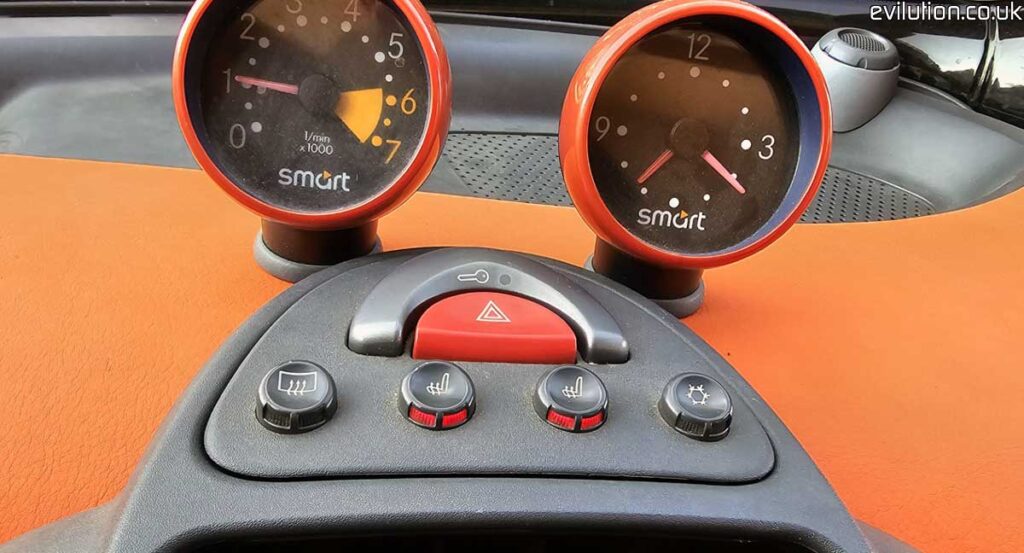
Safety Triangle
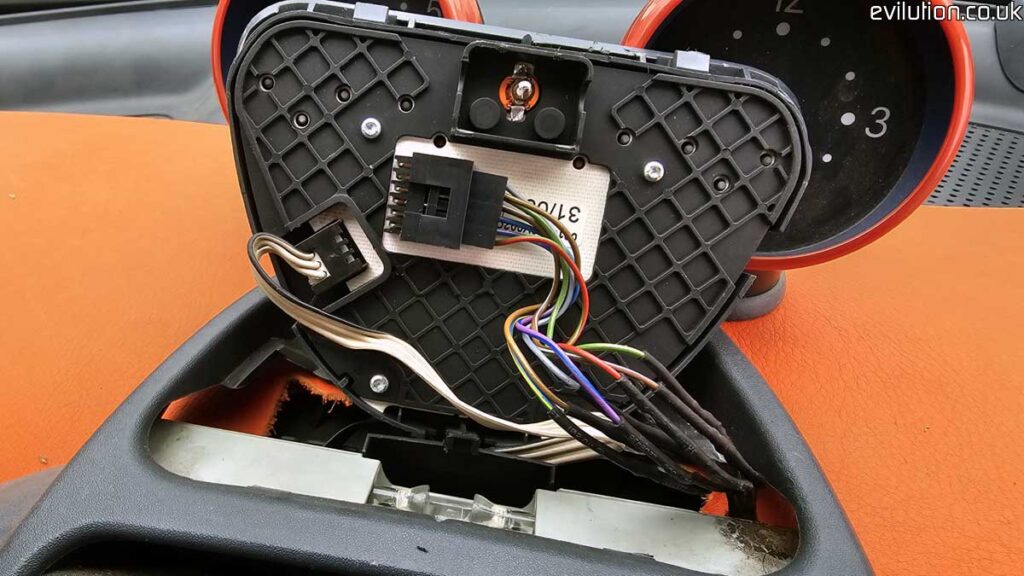
First off was the safety triangle dilemma. The connectors between the 1 or 2 button triangle and the 3 or 4 button triangle were different: the 1 or 2 button triangle had 8 connections and the 3 or 4 button triangle had 12. I got my hands on a 3 button triangle (2 heated seat buttons and an air con button) and traced all of the connections back to the 12 pin IDC socket.
Same with the 1 button triangle on my car, the connections were traced back to the 8 tab edge card connection. A simple and neat adapter had to be made to swap the triangles over.
Both the edge connector and the IDC connections are standard 0.1 inch pitch so one end of the lead could be made from a strip of vero board.

The other end can be made from a butchered IDE cable but I found mine by luck.
Do an online search for 12 way IDC, sometimes known as a dual row IDC
or a 2×6 IDC and let me know if you find any. (see bottom of page).
With the 2 connectors joined correctly and the 4 heated seat wires trailing it was complete.

Each was plugged into its respective connection.

And everything worked.

The new triangle could be fitted in place

Triangle wiring diagram.

If you aren’t too precious about your smart, I would just cut off the edge connector and connect the wires directly to the replacement IDC connector. This is what Tudor O did.
Heated Seat Relays
Get yourself to a scrap yard, look at the back of the SAM unit (passenger side in a smart or drivers side in a roady) and if it has heated seat relays you will see them at the back of the SAM against the bulk head, next to the yellow fog light relay.
You can get them from smart but they are about £70 EACH.
Part number 000 9857 V001
I was lucky that Dave Guile from Chequered Flag in Strood had a pair that they were prepared to donate to the project. Get a pair of 9 pin relay bases and the correct terminals.
You will also need a pair of RELH45B relay holders with terminals.
Locating The Wires From The Correct Fuses
BlackDog was good enough to provide the wiring diagram for the heated seats/SAM so many of the connections could be noted. 2 fused connections proved elusive so I found an easy way around them by using the auxiliary fuse ports.

Get Your Heated Seats
Possibly the hardest and costliest part of the job, expect to pay between £300 and £450 for leather heated seats. Cloth heated seats are available but rare.
Wiring It All Together
Following the diagram and attaching the required wires and fuses everything is ready to go.
A few shots of mine being wired together.

Why is there no connection to pin 9? As standard it connected to the light stalk but it doesn’t actually do anything so it was ignored on this retrofit.


If you don’t have the connectors that attach to the heated seat connectors, these can be bought from smart using code Q0011231V002000000 and retail about £8 each.
Routing The Wires
It’s up to you, just be sensible about it. Don’t leave cables unnecessarily long. Don’t just run them and leave them. It’s in your best interest to tape or zip tie them to existing cable looms.
Warning
Be careful if you have a copy of the official smart wiring diagram and plan to use that instead of the ones shown above. Despite the relay having numbers printed on the pins, smart did not use those numbers.
Instead of what is shown on the relay base.
8 2 1
5 4 3
9 7 6
For some idiotic reason they numbered the relay base differently.
1 4 7
2 5 8
3 6 9
| Number Listed On Relay | Smart’s Wiring Diagram Connection Numbers |
| 1 | 7 |
| 2 | 4 |
| 3 | 8 |
| 4 | 5 |
| 5 | 2 |
| 6 | 9 |
| 7 | 6 |
| 8 | 1 |
| 9 | 3 |
Conclusion
Finally after 15 years of people saying they’ll do it to prove it works (and being fucking liars), Tudor O followed the guide and yes, the heated seats work and function correctly.
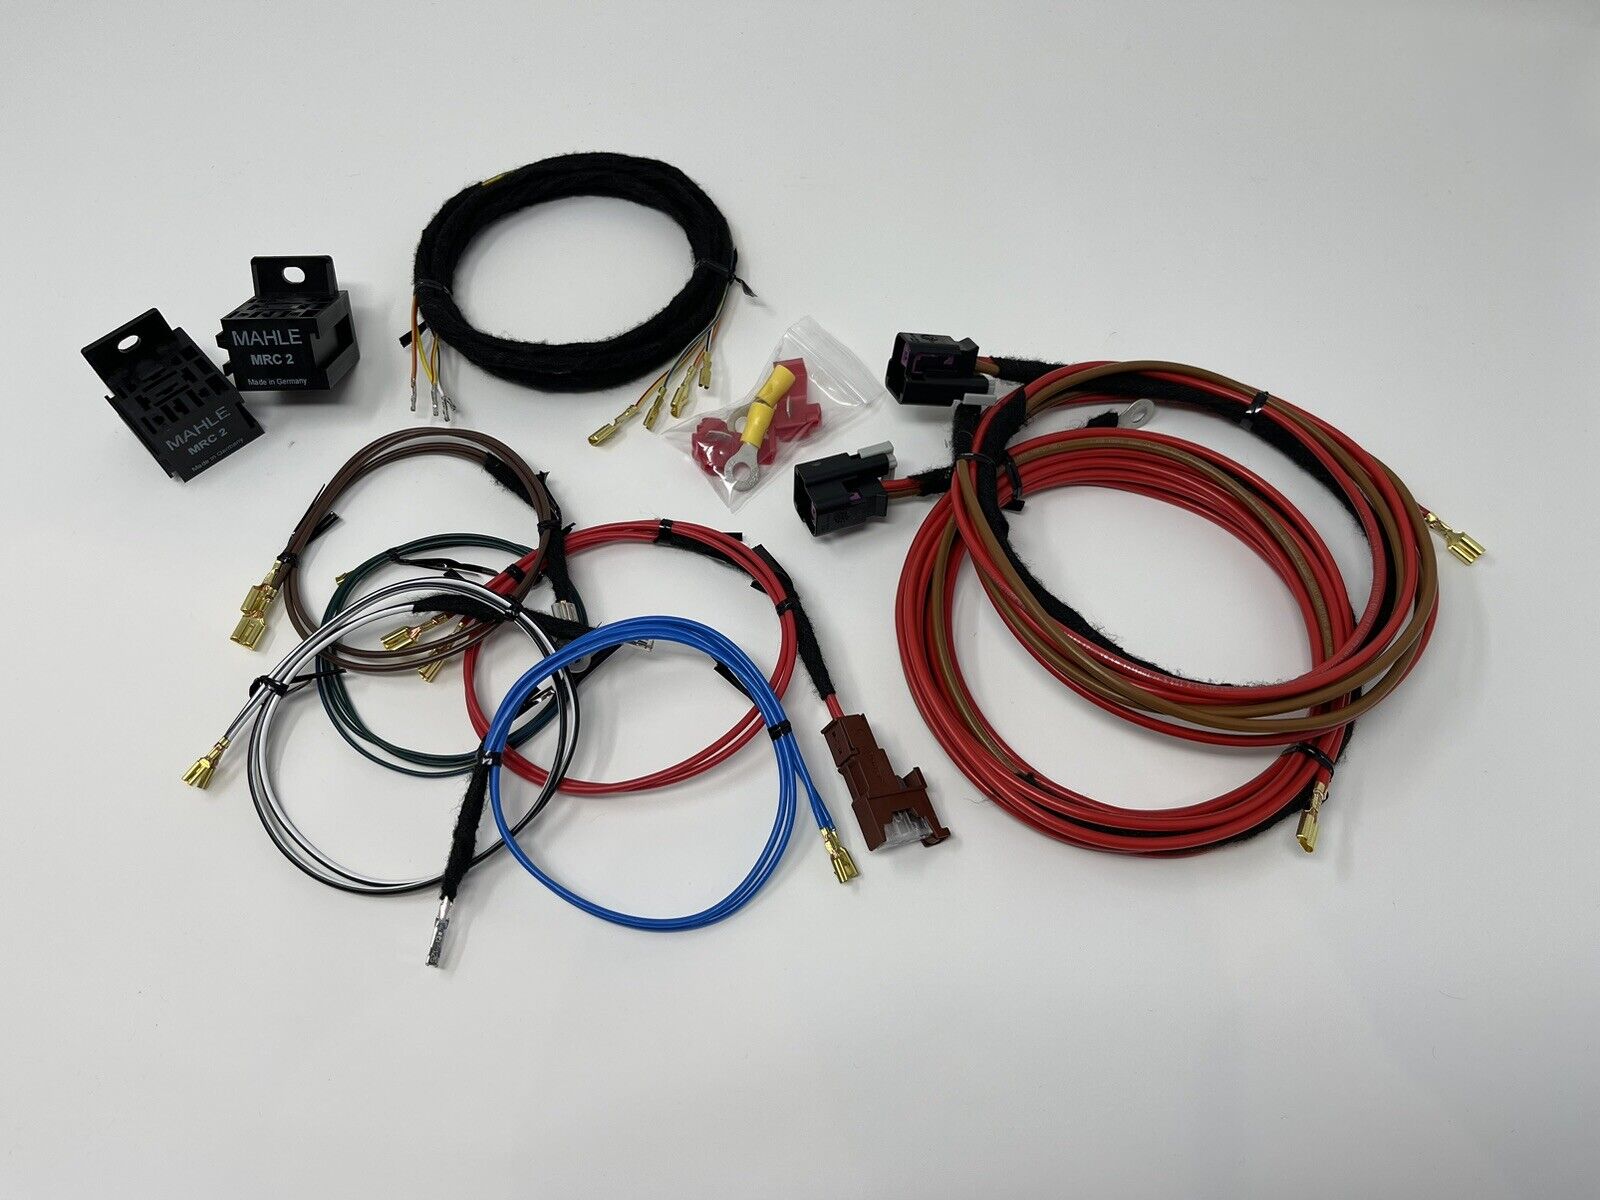
Can I Buy An Aftermarket Wiring Loom?
Yes, click here.
12 Way Dual Row IDC
This part seems to be quite illusive so I decided it needs its own section. People may be wanting to do this mod but failing due to this part so please send me any links you find for suppliers.
Known as 12 way IDC, dual row IDC or a 2×6 IDC.
Pitch must be 0.1 inch or 2.54mm
www.tycoelectronics.com (part number 281839-6)
www.winfordeng.com
www.toby.co.uk