Mod Description
The rear brakes only do about 25% of the braking but the design of the drums traps brake dust which can cause poor braking and noises.Mod Details
PremiumNo Difficulty


 Mod ID438
CreditBlackDog
For
 Linkhttps://www.evilution.co.uk/mod/rear-drum-brake-cleanout.htm Copy to Clipboard
On level ground, chock front wheels and jack up the rear of the car. Support on an axle stand and remove rear road wheel. Ensure car is in neutral and handbrake is NOT engaged – this is so you can turn the brake drum freely.
Remove the small torx screw (circled red) from the face of the drum (Torx30 bolt)
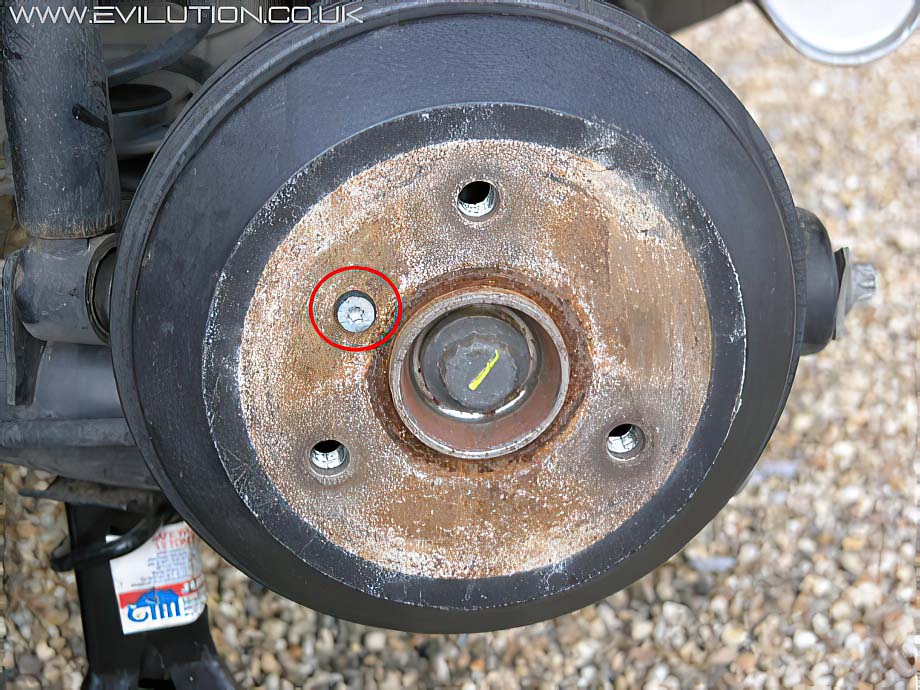
In theory, you can now pull and remove the drum. In practice you may find that it is rusted on around the centre of the hub. If so squirt WD40 or other releasing fluid around the point where the drum and the hub are in contact. Wipe off any excess that runs down the drum. The drum can be tapped with a rubber mallet (do not use a hard metal hammer) to persuade the drum loose. Allow sufficient time for the releasing fluid to work.
Remember to take the handbrake off before attempting to remove the drum or the brake shoes will be holding the drum in place, use chogs, a jack and an axle stand.
Once the drum is removed you can see the brake parts. Wipe off any remaining releasing fluid so as not to contaminate the brake surfaces. The brake piston is circled red and the brake shoe clips are circled blue.
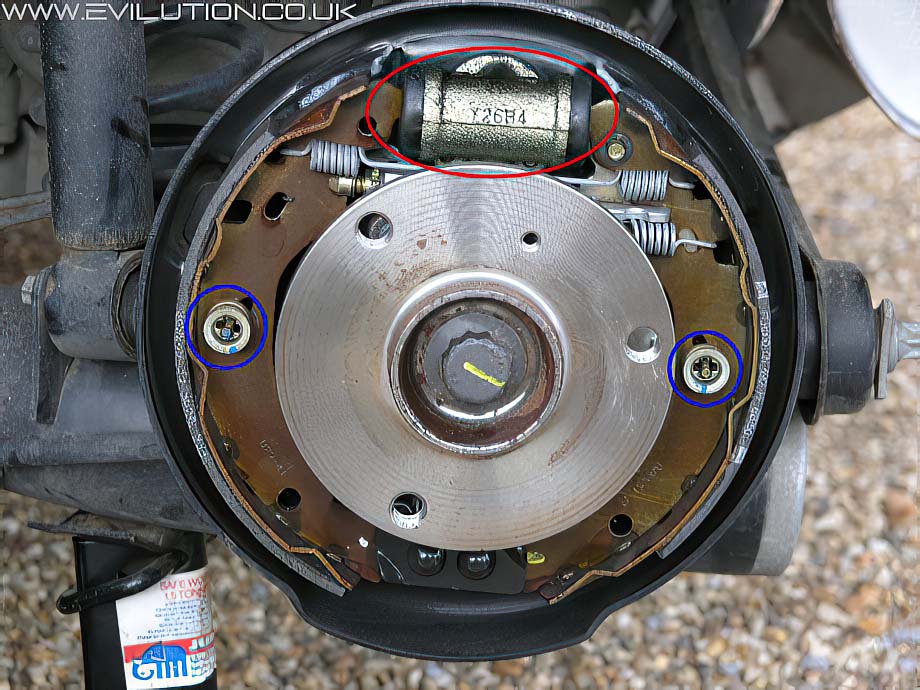
Brake dust is a very hazardous substance, it is important you don’t blow on the brakes to clear the dust. Use brake cleaning spray, a filtered hoover or as a last resort, a paintbrush and a face mask. Carefully remove the brake dust from the inside of the drum and from the brake parts and the adjuster in particular.
The adjuster is circled in green.
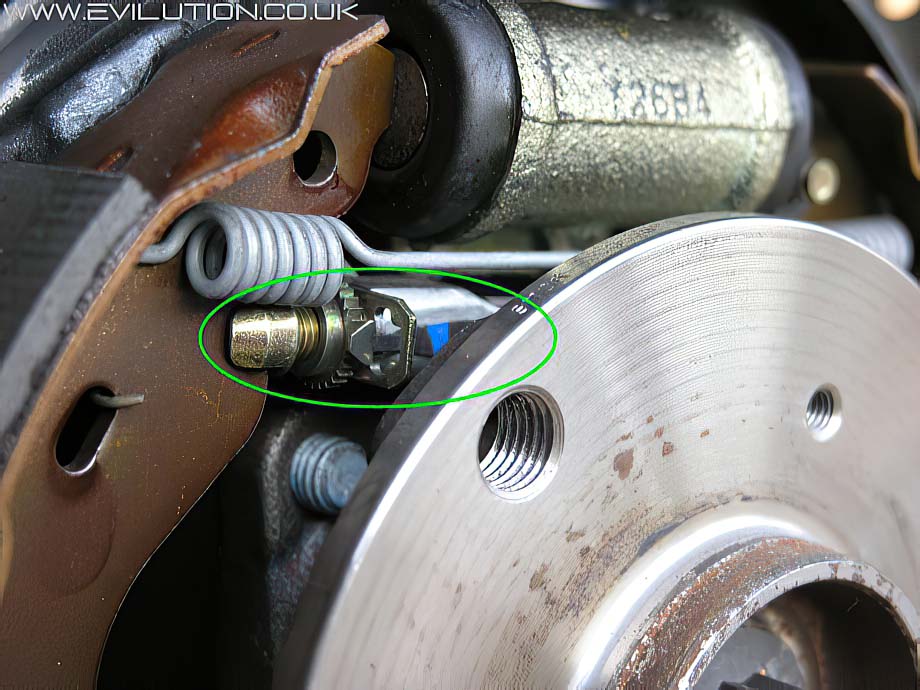
You can see the amount of pad material left on the brake shoe. (For guidance the pads in the photograph have covered 10,000 miles and have plenty of pad material left). You may decide that the shoes need replacing or that having cleaned everything you can just re-install the drum and road wheel.
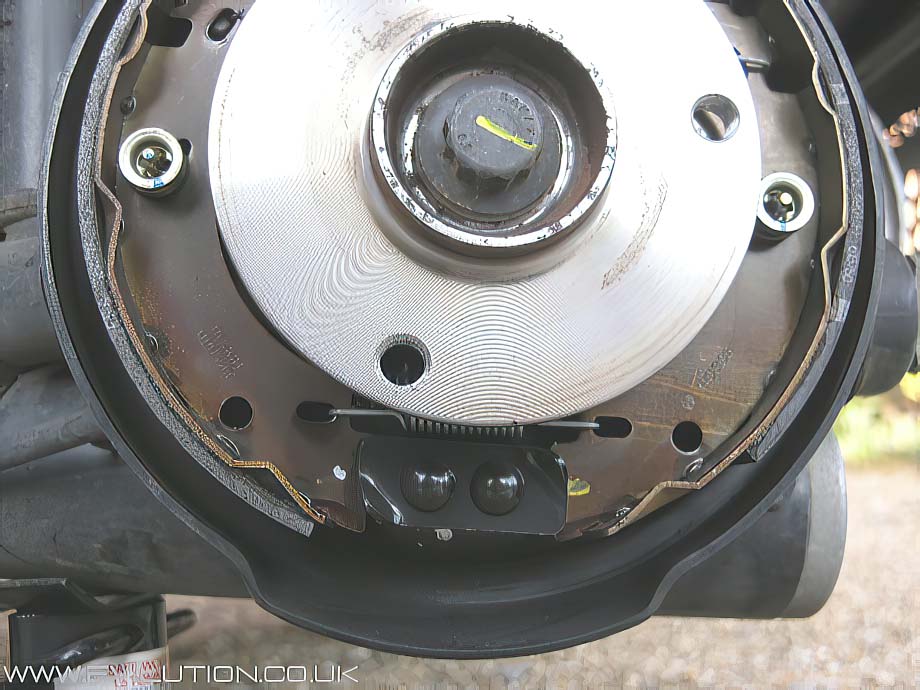
The brake shoes are held in place with a single twist connector on each one, they are pulled away from the drum with 4 springs which ensure an even braking surface when the brakes are applied. As the brakes are applied, the piston pushes out the tops of the shoes which make contact with the drum.
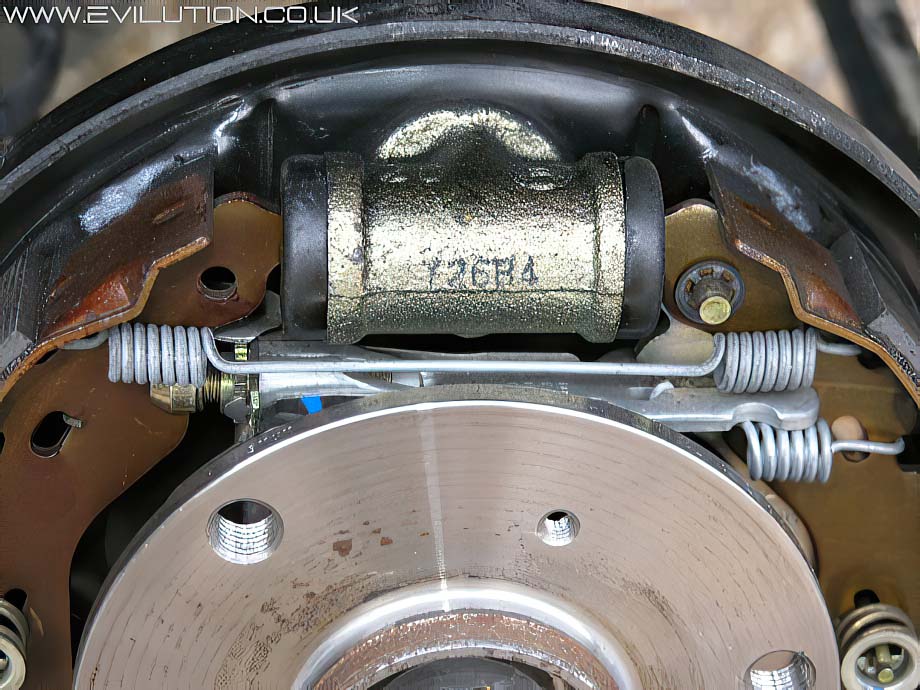
Before replacing the drum, using brake grease, lightly lubricate the area where the drum can rust onto the hub. Take care not to contaminate the inside of the drum or the surface of the brake pad. Reassembly is the reverse of removal. Before refitting the rear wheel, adjust the handbrake by operating the foot brake and then apply the hand brake 30 times with the button pressed. Release the handbrake and check that the drum rotates freely.
Refit the wheel.
The Quick Way
No where near as good as a proper dismantle and clean but better than nothing. Remove the wheel.
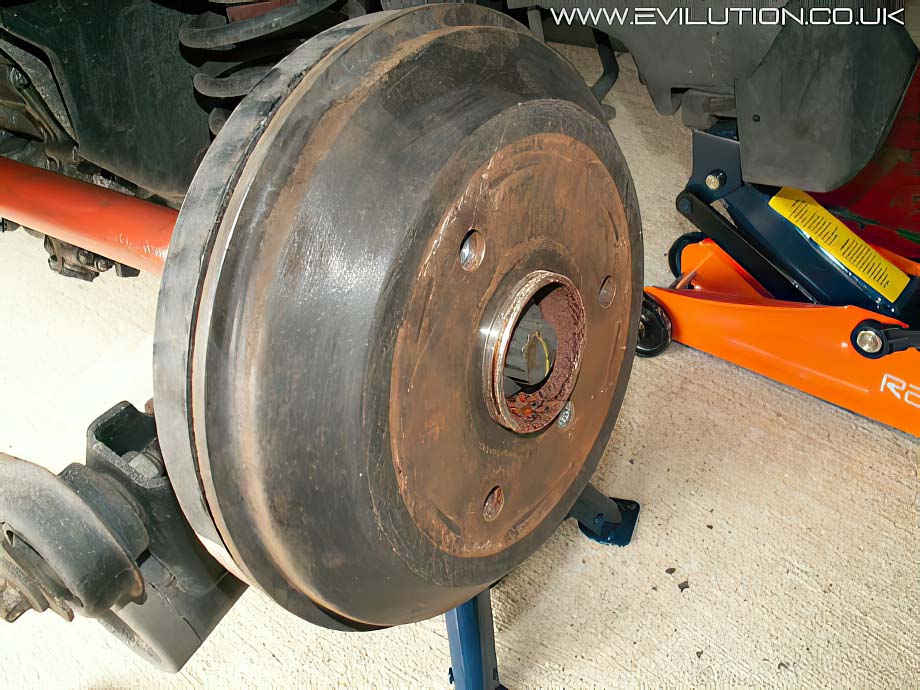
Look under the hub and you will see a vent where the brake dust is supposed to come out. Ensure this vent isn’t blocked with anything, don’t blow on it to clear it.
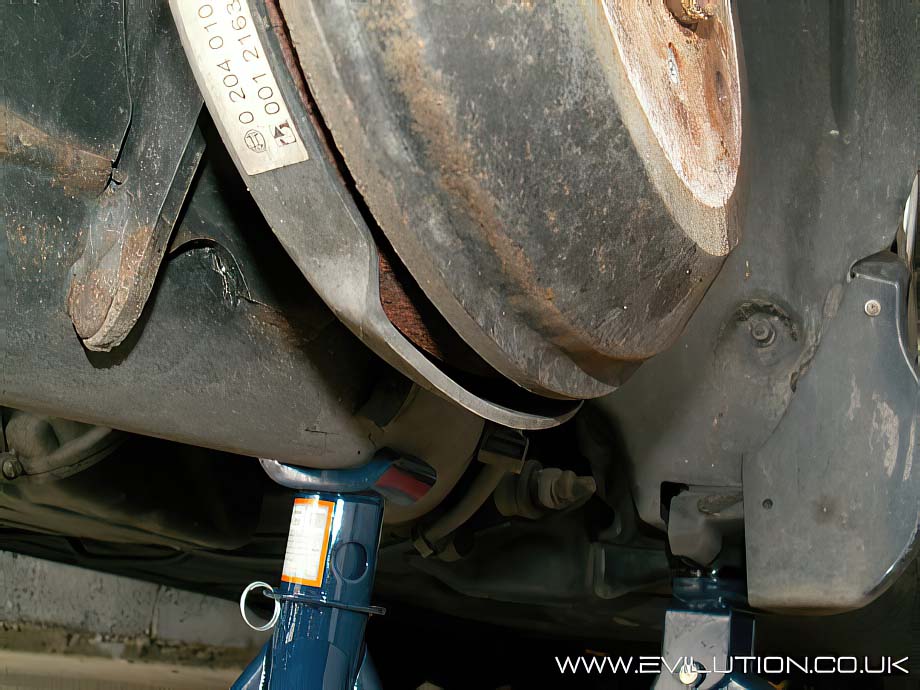
Everyone (who isn’t really poor) has a dyson especially for the car so vacuum the vent.
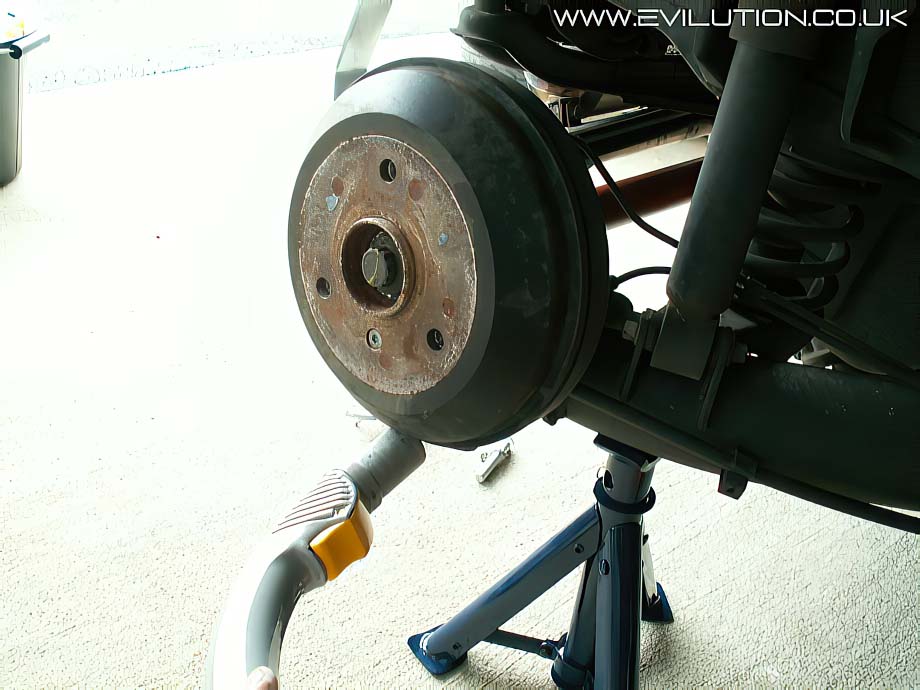
Put the vacuum nozzle over 1 hole, place a wheel bolt in the other 2. Spin the drum all the way around with the vacuum cleaner still over 1 hole.
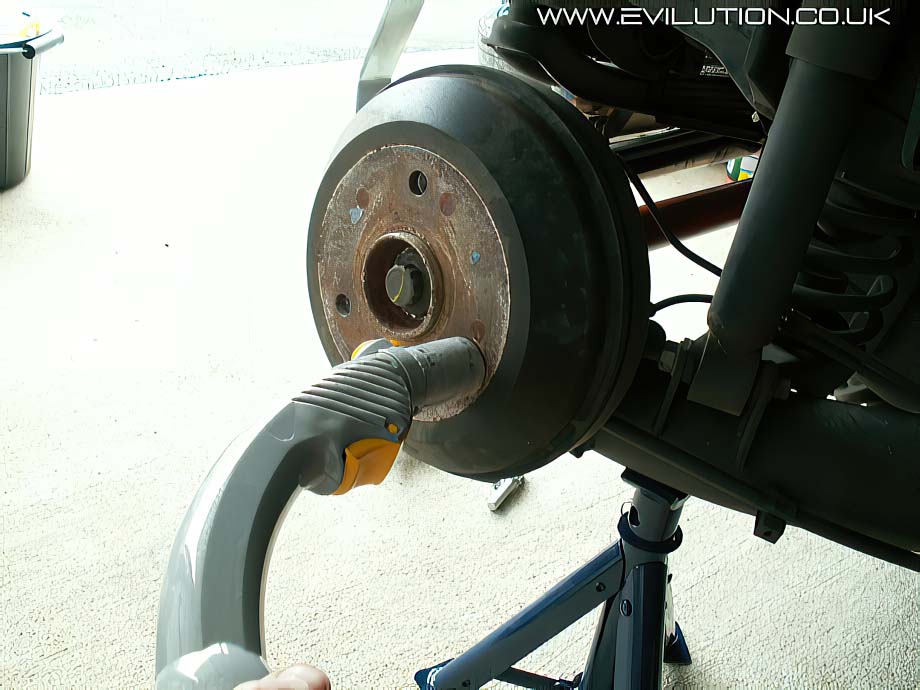
I found this will remove about 60% of the brake dust from the hubs.
Important
Always replace the brake shoes in pairs, never singularly.


